After making the worst fuzz pedal ever (that’s for another post) and Orange Ya Glad (which was fine, but didn’t add quite as much fuzz as I wanted and adds a weird buzz even when you’re not playing on some speakers), I just wanted a normal fuzz pedal. After doing a bit of reading, I found that the Red Llama overdrive pedal (by Way Huge) is a classic, and after watching a few YouTube demos, it seemed good (to be honest, people are crazy about the “different” sounds of various fuzz/distortion/overdrive that various antique/obscure transistors or configurations will give you, but they all sound pretty similar to me, and I suspect people think they’re hearing differences more often than there actually are).
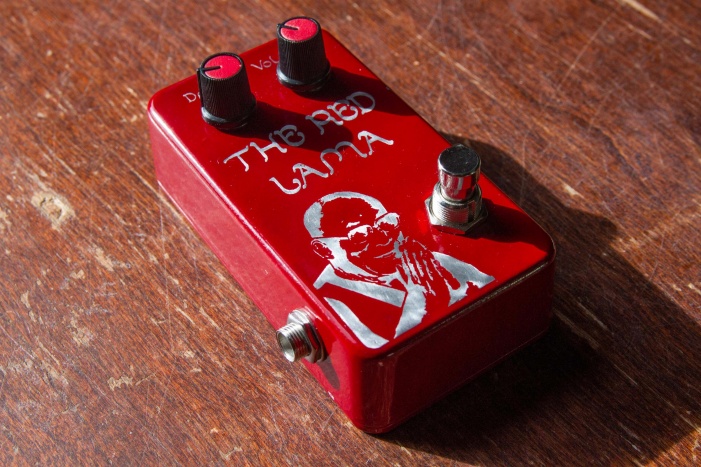
Anyway, I wanted to tribute the original Red Llama circuit I was cloning, so I went for…
Ha.
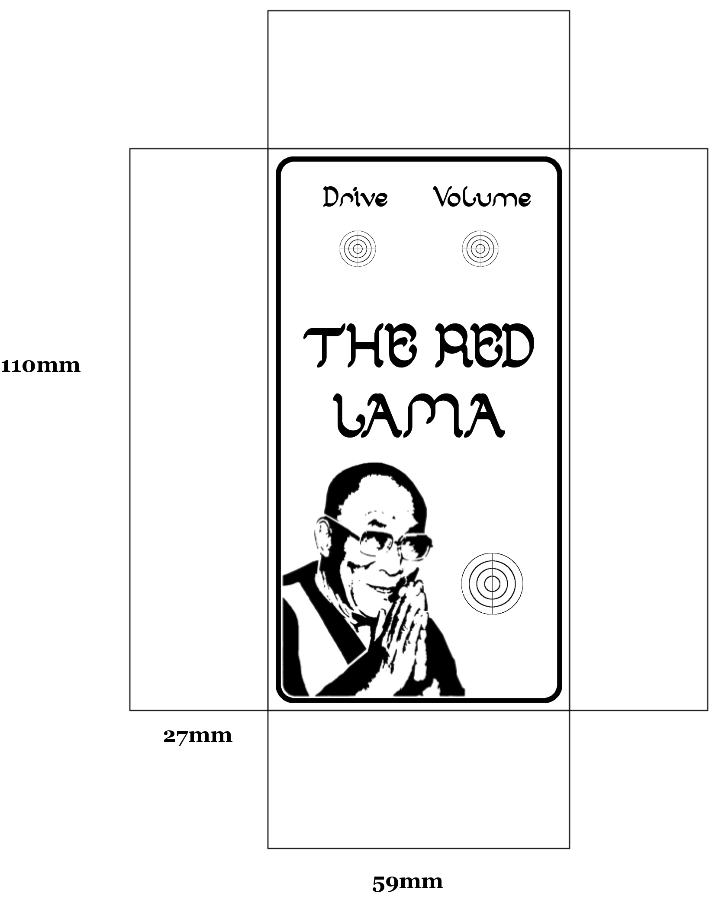
Well, I thought it was funny. I really like the free font I found, it feel very “Tibetan”. I wanted to make it red, too, since I didn’t really have a red painted pedal yet, and…you know. I googled “Dalai Lama stencil” and found it already like that, which is convenient because I feel like my stenciling/thresholding never comes out as good as I want it to.
The only trouble was, it was off center, he’s kind of facing to the right, so if you centered that image, there would be a weird straight line on the left, and the clean negative space on the right. So, I did a first here: I put both the graphic and the stomp button off center.
I actually like it a lot! It looks like he’s praying (or whatever) to the stomp button.
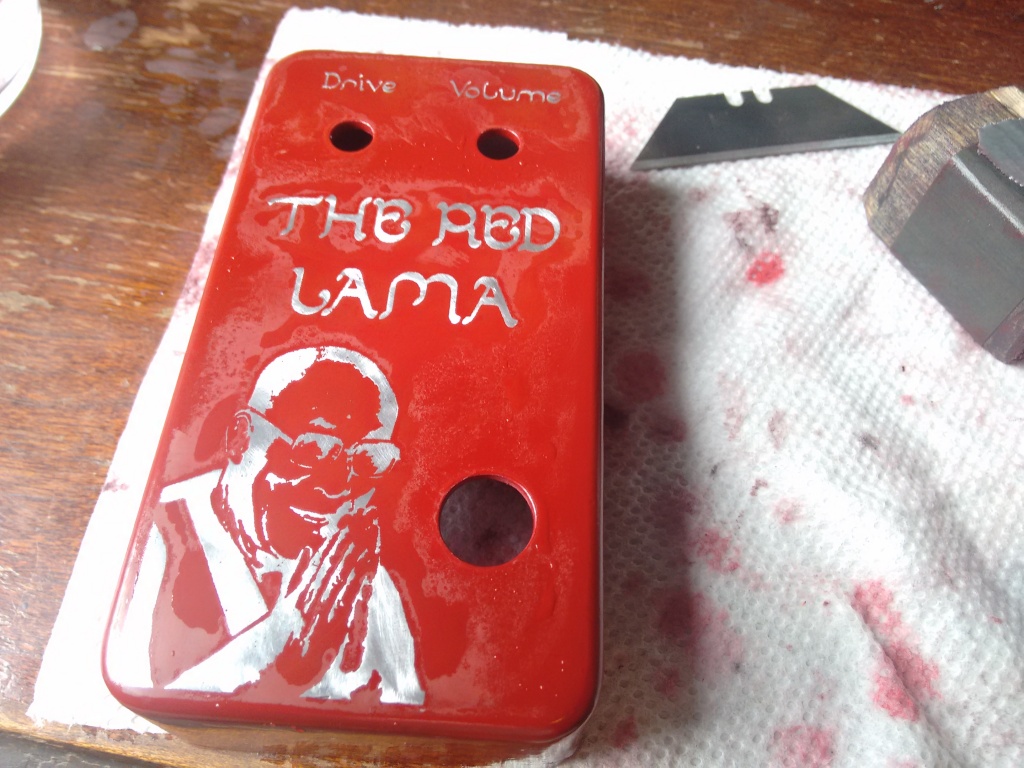
Here it is after etching. I’m afraid I don’t have any pics of the stencil or etching process for this one, but you can see that in my other pedal posts.
Here, you can see it after painting and sanding. As usual, from the sandpaper scum and scratches on the paint, it looks pretty crappy at this point.
But do not fear! A quick wash and the lacquer coats fixes all:

I love the red paint and Al chassis combo, it really pops. It seems like the best ones are the ones with bolder, darker paints. I also used some cheap little red pot knobs I got from AliExpress, which have actually gone pretty far.
I don’t have any shots of the guts of this one, unfortunately, but they’re also not especially interesting. I followed the schematic/layout from here, which uses stripboard and is fine enough for such a simple product. It’s a very simple idea, based around the CD4049 hex buffer. Basically, it’s just amplifying the signal in multiple stages, so it essentially starts clipping, causing a distorted sound. If you notice, the CD4049 actually has 6 buffers, but it’s not using all of them. One annoying little thing about this circuit is the double connection at one of the holes of the stripboard you can see under the IC, as well as the wire under the IC itself (which you have to be careful with to make sure nothing’s getting shorted).
To do those double connections, when they really do both have to go in the same hole (like they kind of do here), it seems like there are two options. First, you can use one continuous wire to connect the far holes, and then strip a small section in the middle above the throughole in the middle, where you have a little nub that connects to the long wire. The other alternative isn’t a lot better. You can either use stranded wire, or a thinner gauge, or sand down some solid wire, and actually fit two wires from each of the far holes into that center hole. I believe I did this at some point, but to be honest it’s a real pain and leaves you worrying if you accidentally made the connection too weak.
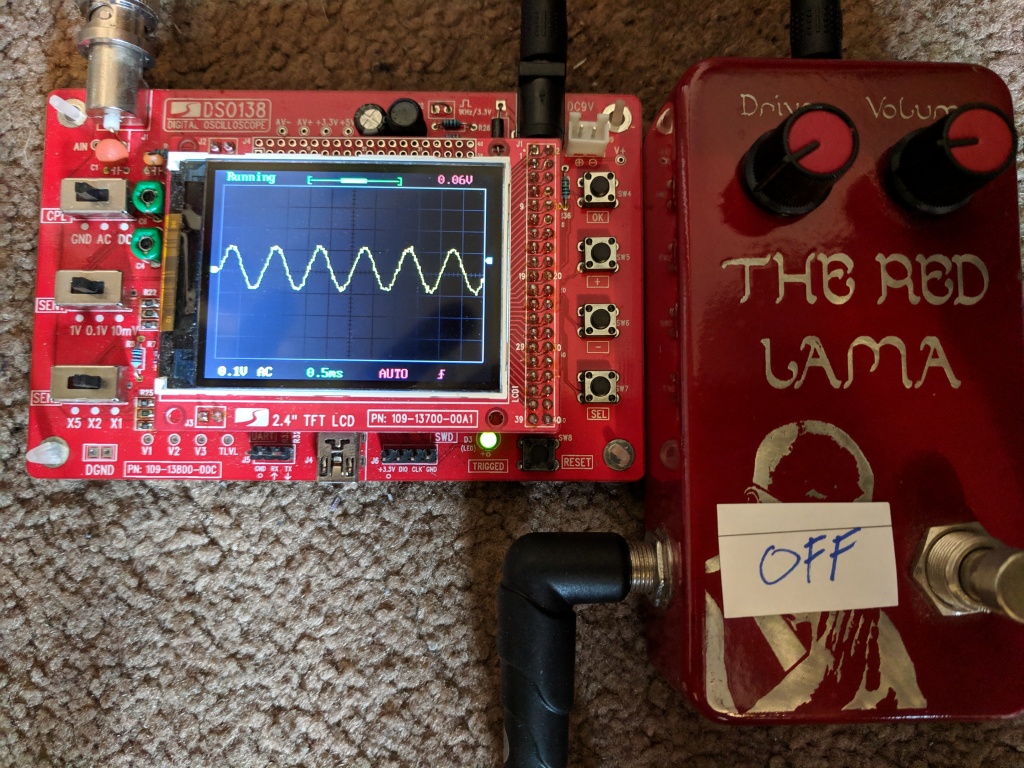
Anyway, let’s take a little look at what it actually does to the waveform!
For reference, I’m using a 1 kHz, 0.1V amplitude sine wave from my dinky function generator. I also have a dinky scope that I built from a kit for $15. It’s obviously not fancy, but gets the job done for investigating simple waveforms! You can adjust the trigger, scales, etc.
Here’s what it looks like, just passing through:
If we turn just the volume up, with no drive, it mostly preserves the sine wave shape, not distorting it:

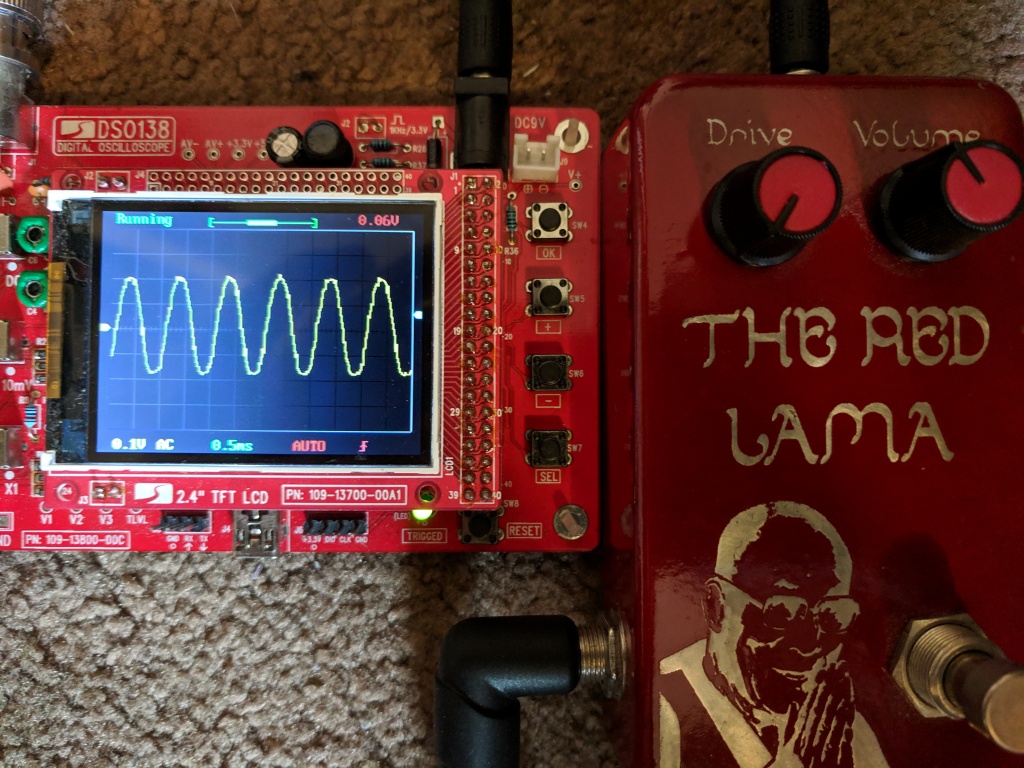
Turn up the drive instead starts making it look more like a square wave, though curiously, moreso on the bottom of the waveform. This is what gives it the fuzz sound:
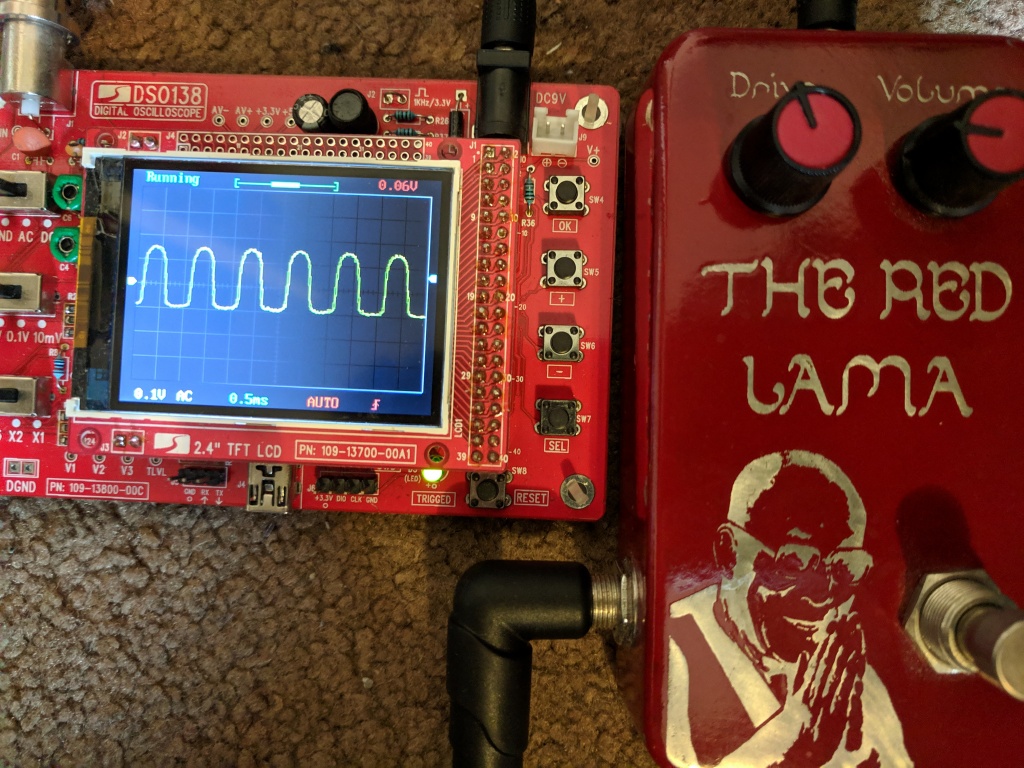
If you really crank the drive, the bottoms are almost square:
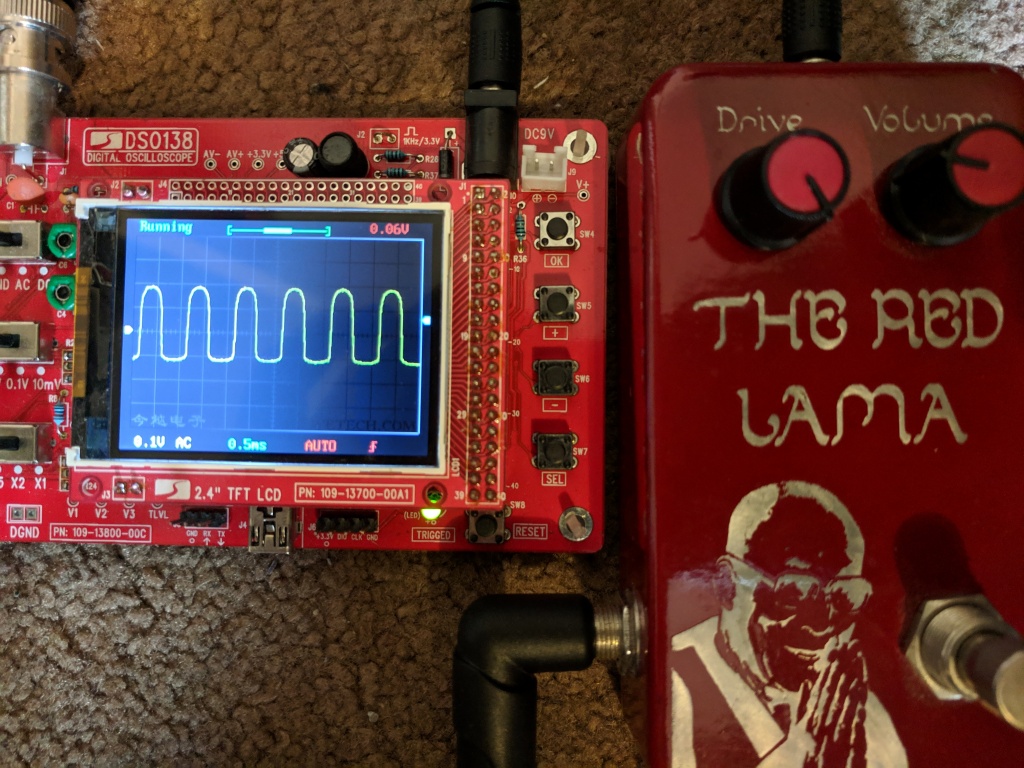
It’s also worth noting that increasing the drive doesn’t actually increase the amplitude much, if at all.
Anyway, the pedal is definitely my favorite fuzz one now. Like the Way Huge page advertises, you can either use it a teeny bit to add a bit of fuzz (usually what I do), or really crank the Drive knob to make it almost unrecognizable (which is occasionally fun to mess around with, but I’m not often actually using).
Lastly, let’s take a look at a sexy photoshoot quality pic I took with the DSLR: