
I was recently at the art store for some reason, just browsing. I found the linoleum stamp section at the back and immediately wanted to make some! We had made them in 5th grade art class or something, and I remember liking it a lot, but had never since then. They’re kind of the perfect type of art for me, since I seem to like 3D things with more of a “crafts” element. I like carving/whittling anyway, so this was perfect.
I grabbed a few (pretty cheap), and on the way home thought of what I’d do: make a square stamp with weaving paths, asymmetric, such that it could be stamped out in a grid to either create cool repeating patterns, or random ones.
First I’ll briefly talk about the craft section, and then the coding part. If you wanna see the big figures, skip to the bottom!
I bought two, so I could have the small square be a “1×1” unit square “tile”, and the bigger one be a 2×2:
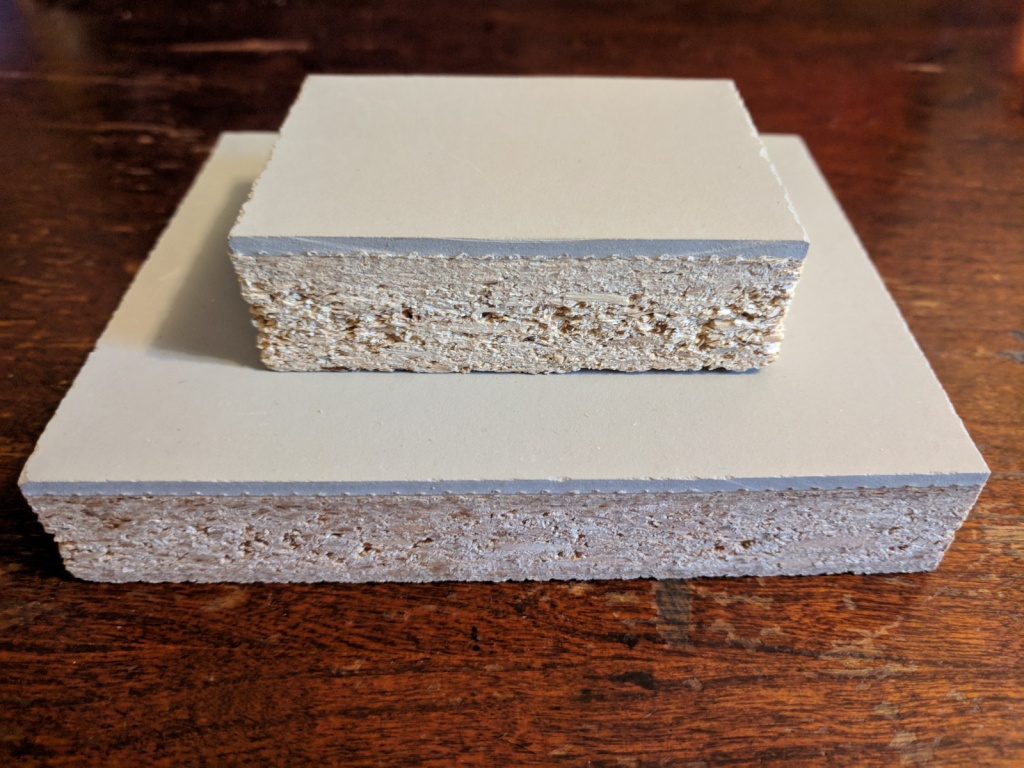
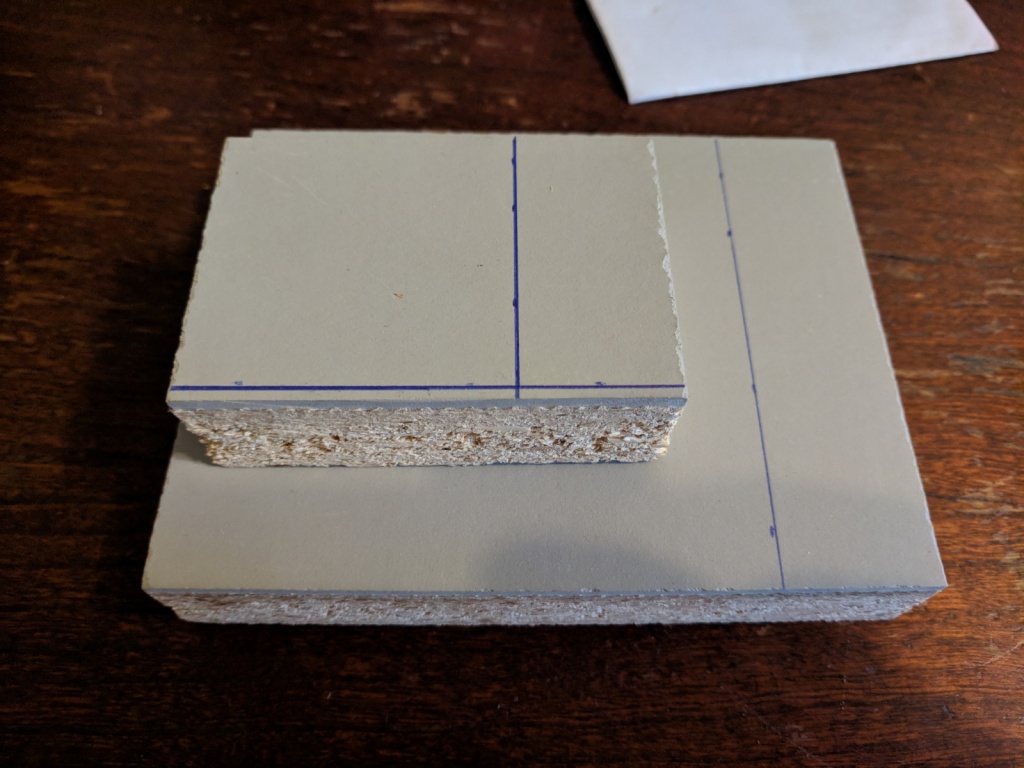
It turns out the sizes they are sold as aren’t totally accurate, so I had to resize them:
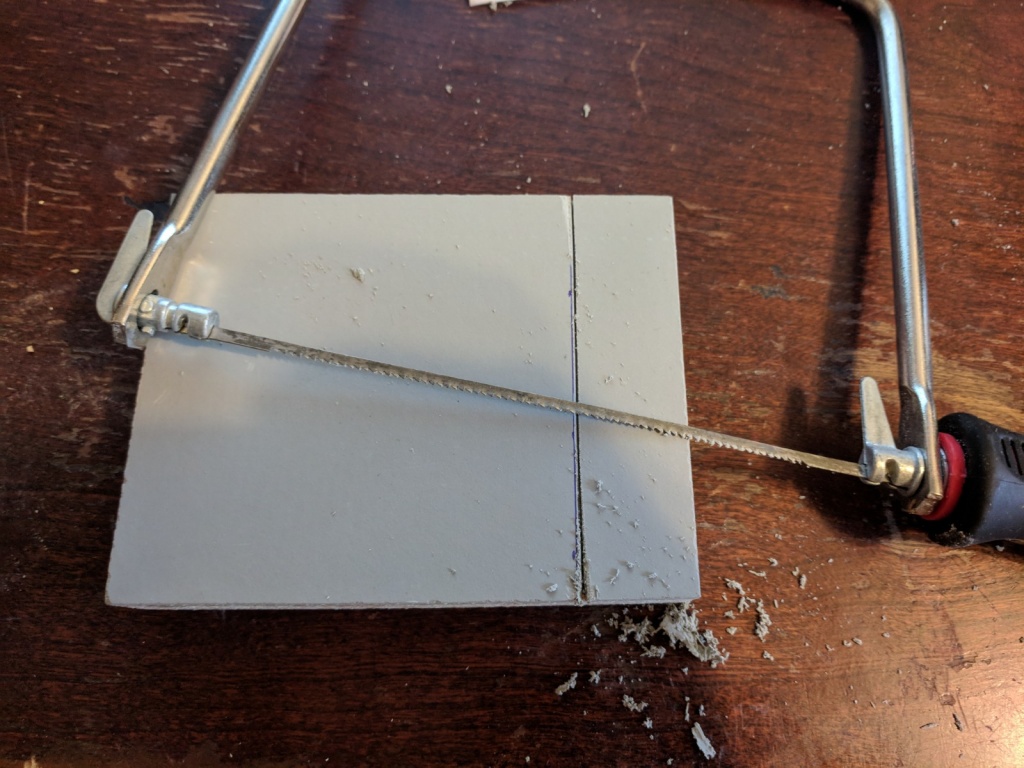
The linoleum is real easy to cut with a thin scroll saw, but the wood was pretty annoying.
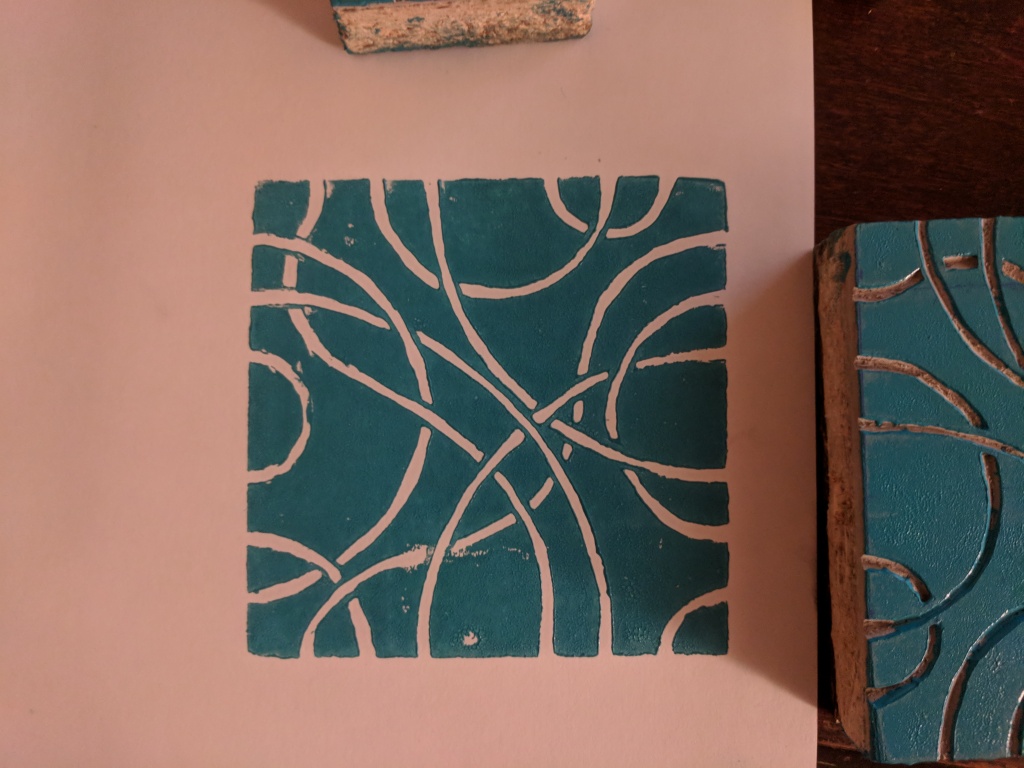
Ta da!

Here’s the 1×1 tile. I tested a few patterns and decided to put “ticks” (i.e., entry/exit points for the paths) at the quarter, half, and three quarters marks of each side, so when you rotate it and put it next to another, it will match up with them and continue the paths, sometimes creating closed loops (either between adjacent ones, or over many tiles).
For the pattern, it was somewhat arbitrary, but I wanted a combination of ones that would connect the same side to itself, to adjacent ones, and ones across (you can see the one I chose in the pad to the back):
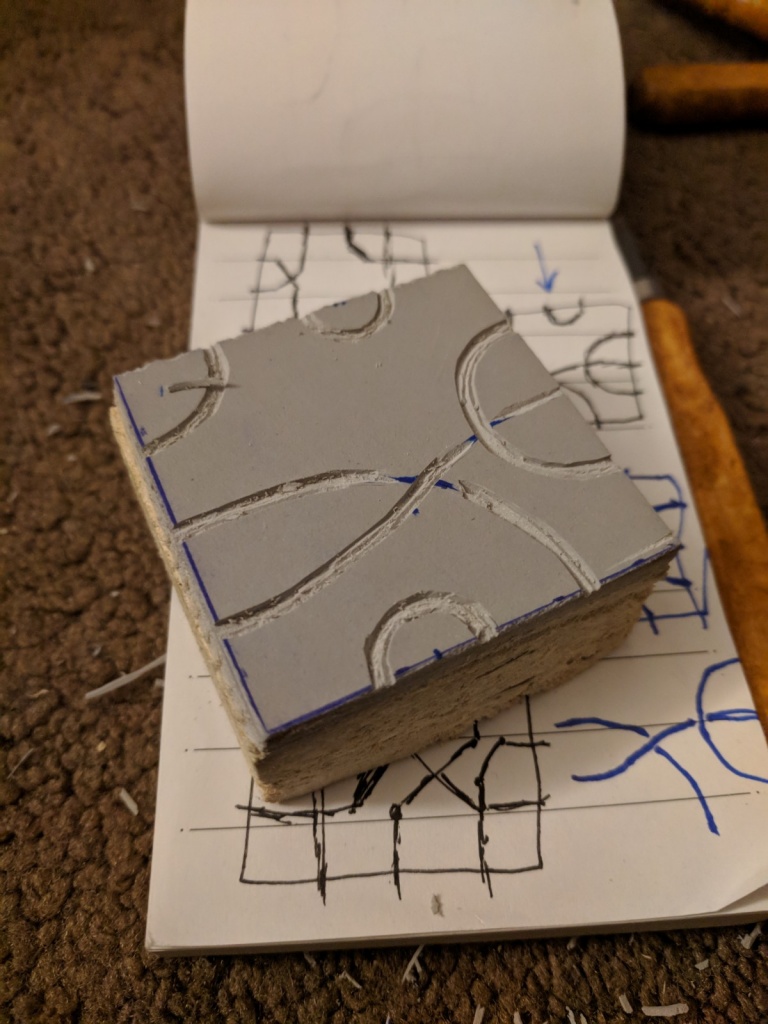
I also wanted it to be totally asymmetric, since it would offer more pattern making.
The carving was pretty easy. The carving kit I got had “scoop” blades that I originally though would be more useful, but it turns out that it’s easier and cleaner to just use a straight blade and cut at a “V” angle into it to make the channels.
Additionally, I’m not sure if you can see here, but I intentionally put a little gap in between paths when one crosses another, to give the impression that it’s crossing “under” the other, adding a bit of depth.
So how does it look?
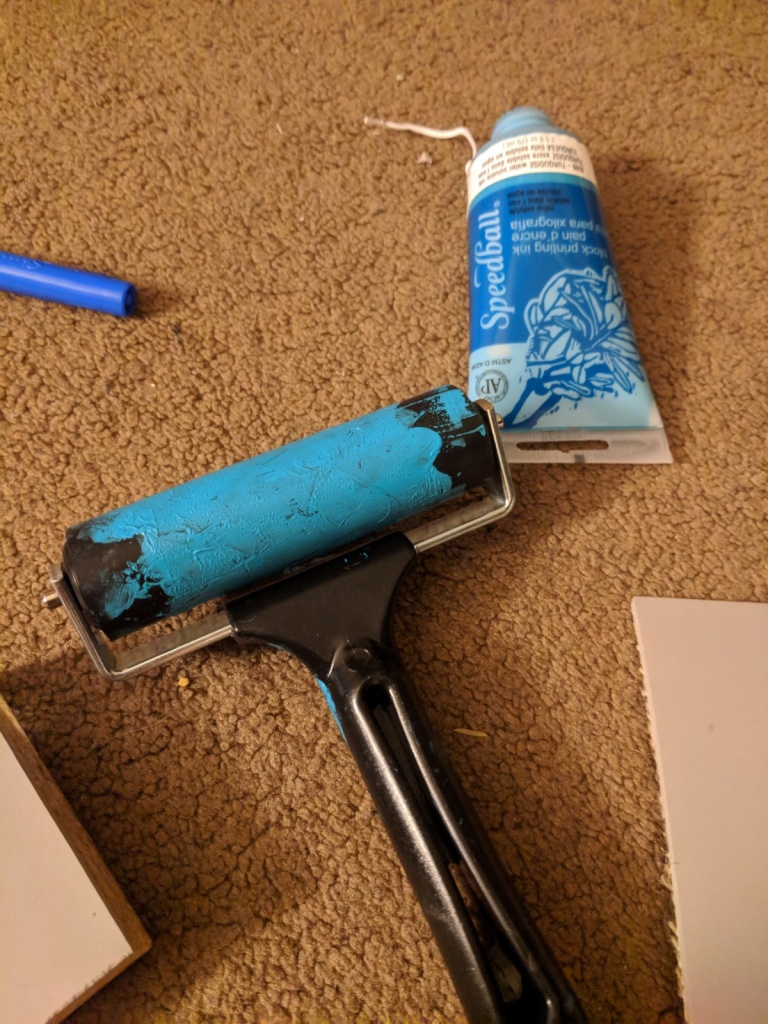
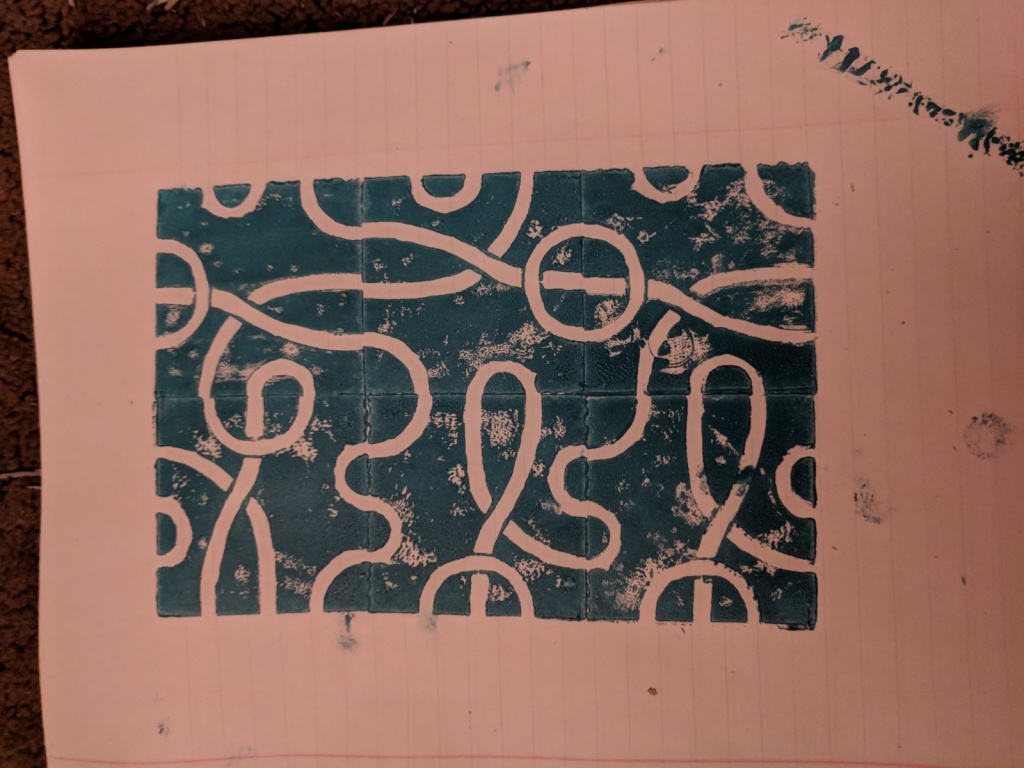
Neato! The print was splotchy, but I love the wandering, wild patterns it quickly makes.
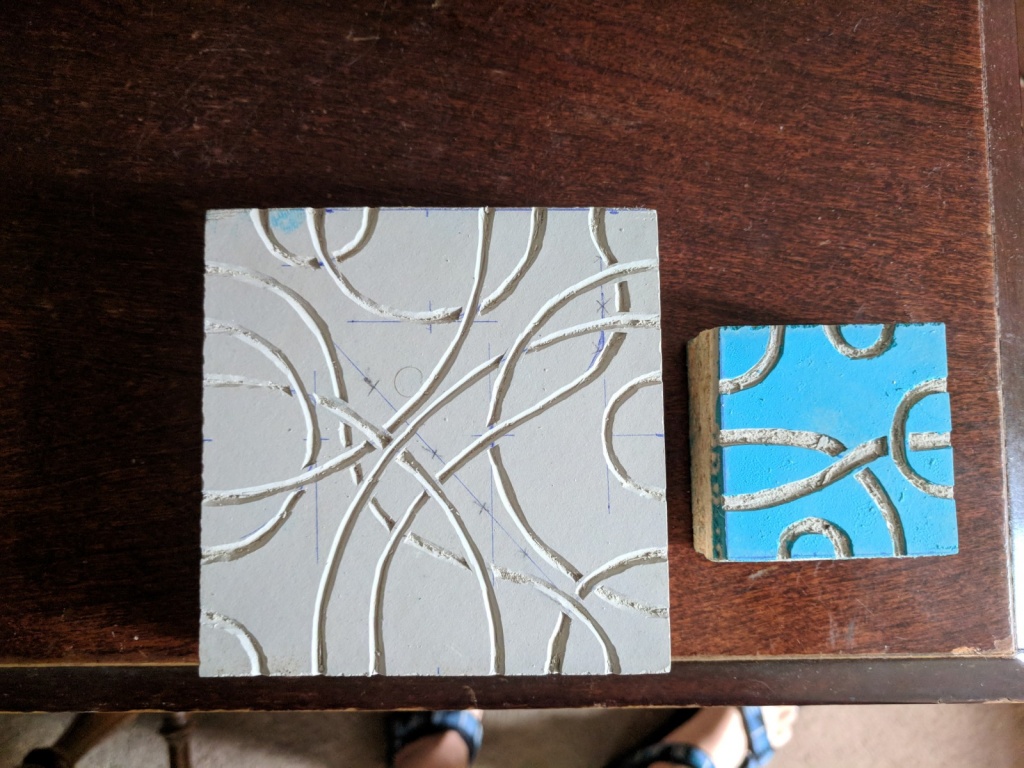
The 2×2 was even more fun, because I had a lot more space to go nuts. It now had 6 ticks per side, which let me do some pretty wide, sweeping circles. Here it is carved next to the 1×1:
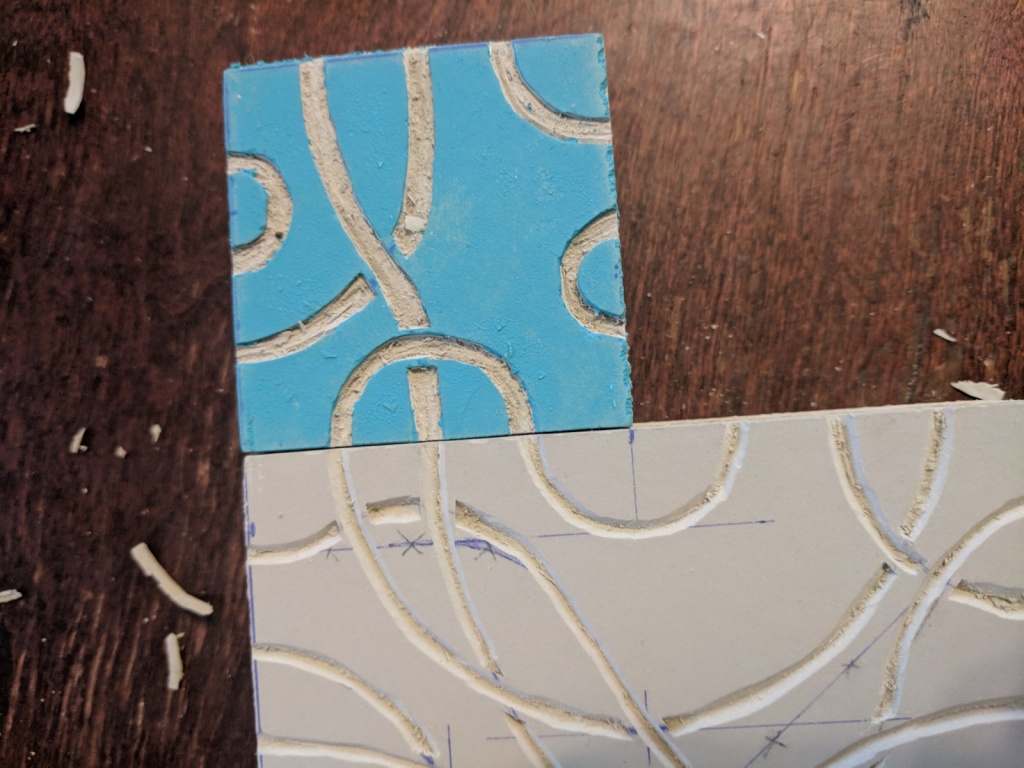
It was a bit of a pain to line up the ticks exactly after carving so many, but it only took a few adjustments and testing all sides against each other to make them pretty decent (keep in mind that you’re not gonna have a ton of precision with stamping anyway):
So how does the 2×2 look?
PRETTY SWEET IN MY OPINION.
Here’s the 2×2 first:
Then for fun, I did another 2×2 and a bunch of 1×1’s in the area around them:
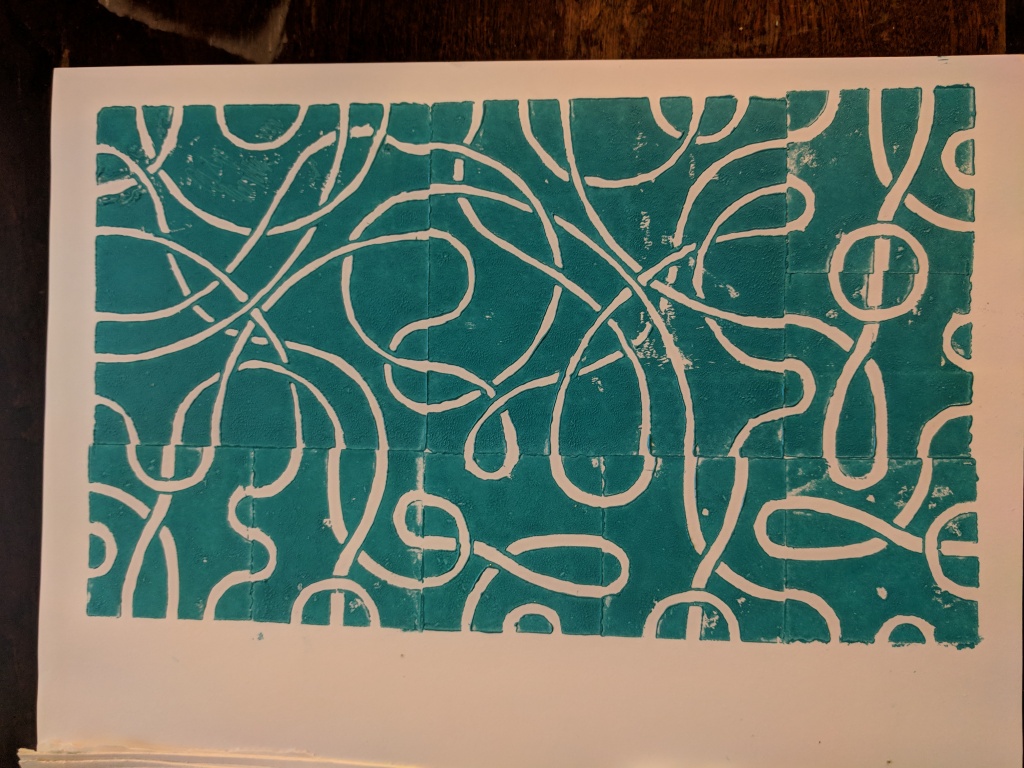
I was doing it kind of fast and loose, so the edges don’t line up perfectly. Still, I love the swooping, huge circles created by the 2×2. It seems like I made the lines a little thicker for the 1×1, so maybe I’ll go back at some point and widen the ones for the 2×2.
So that’s the craft part! I dunno what I’ll do with them. I think it would be pretty cool to cover a wall in them a some point or maybe make a shirt if I get some fabric ink.
Now let’s code!
I could (and will!) make lots of prints, but I wanted the ability to test out large scale patterns of various configurations of the blocks without having to manually print them. Then, in the process of doing that, I found some nifty patterns that occur.
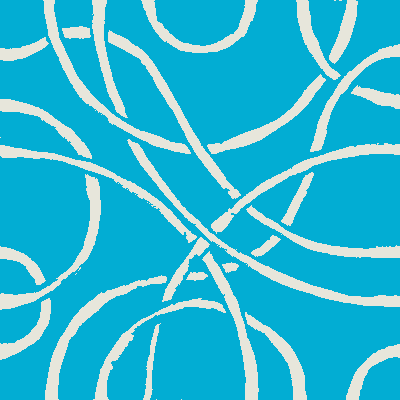
The first thing I did was take the above photos, crop out and perspective shift the tiles out of them to make them square, then “posterize” them to decrease the number of colors used. This allowed me to easily grab the basic shapes of the tiles and make new, cleaner images with them:
![]()
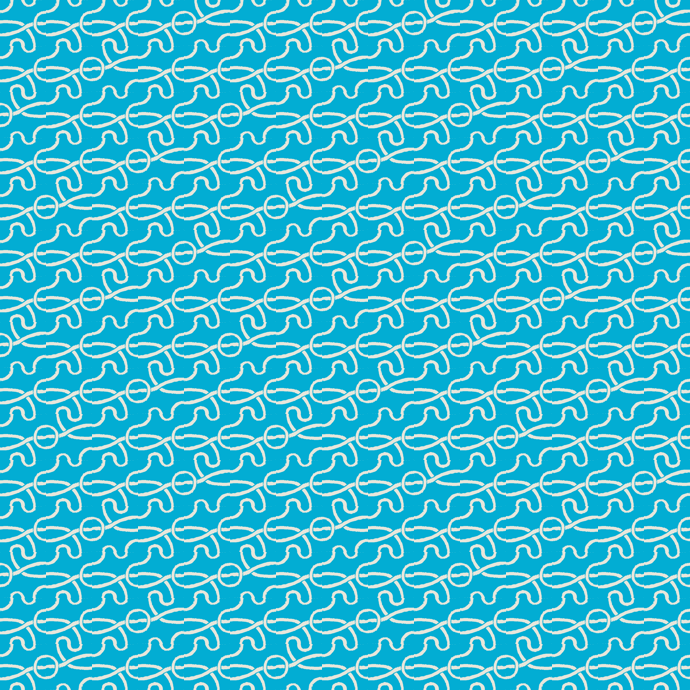
From here, it was pretty to use PIL (python image library) to whip up a program with a Board class, which uses a Tile class, to create large scale patterns quickly. Here’s the most simple, plotting just the 1×1 tile repeating uniformly:
It already forms a neat thing! If you follow a single path, you’ll see that it goes down 1 and right 1 each step, in a winding path.
What if we add the smallest of variation? To do this, first lemme define a few things. To be consistent with PIL, the origin starts at the upper left, the x coordinate is to the right, and the y coordinate is down. I can rotate a given tile, and PIL rotates CCW. There are only 4 unique rotations, so rot=0 is not rotated at all (i.e., the rastered 1×1 tile above), rot=1 is rotated 90 degrees CCW, etc.
Here, what I’ll do is create horizontal stripes. To do this, as I add tiles, I’ll just rotate each tile in a row by its y value, modulo some value. So, if I do mod=2, the stripes will be every other tile. For example, here’s the relevant code for that:
def hStripesPopulate(self,mod=2):
  self.label = 'hstripes_mod'+str(mod)
  for i in range(self.N_board):
    for j in range(self.N_board):
      self.insertTile((i,j),type=1,rot=j%mod)
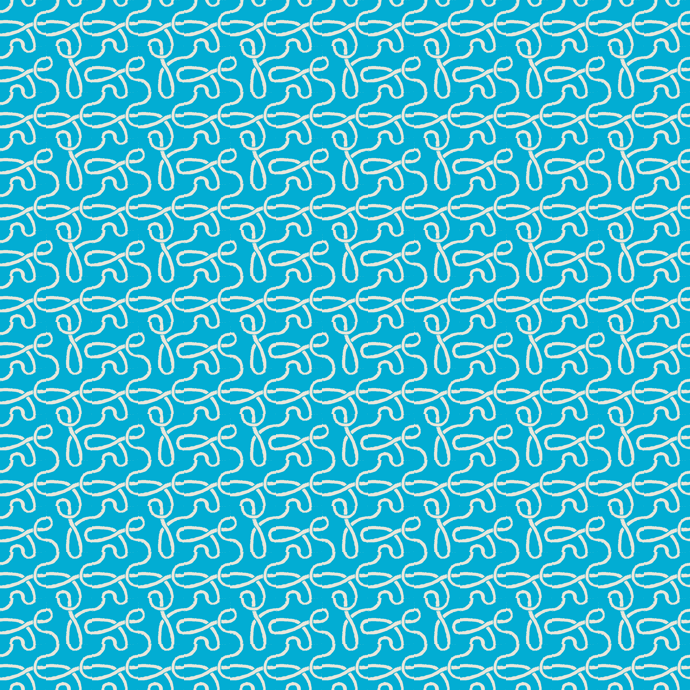
The important part is the rot=j%mod. Here’s what that looks like!
Daaang. I dunno about you, but I find that really pleasing.
Here’s mod=3:
mod=4:
Mod 2 and 4 look pretty similar at a glance, but if you look closer they’re actually a bit different.
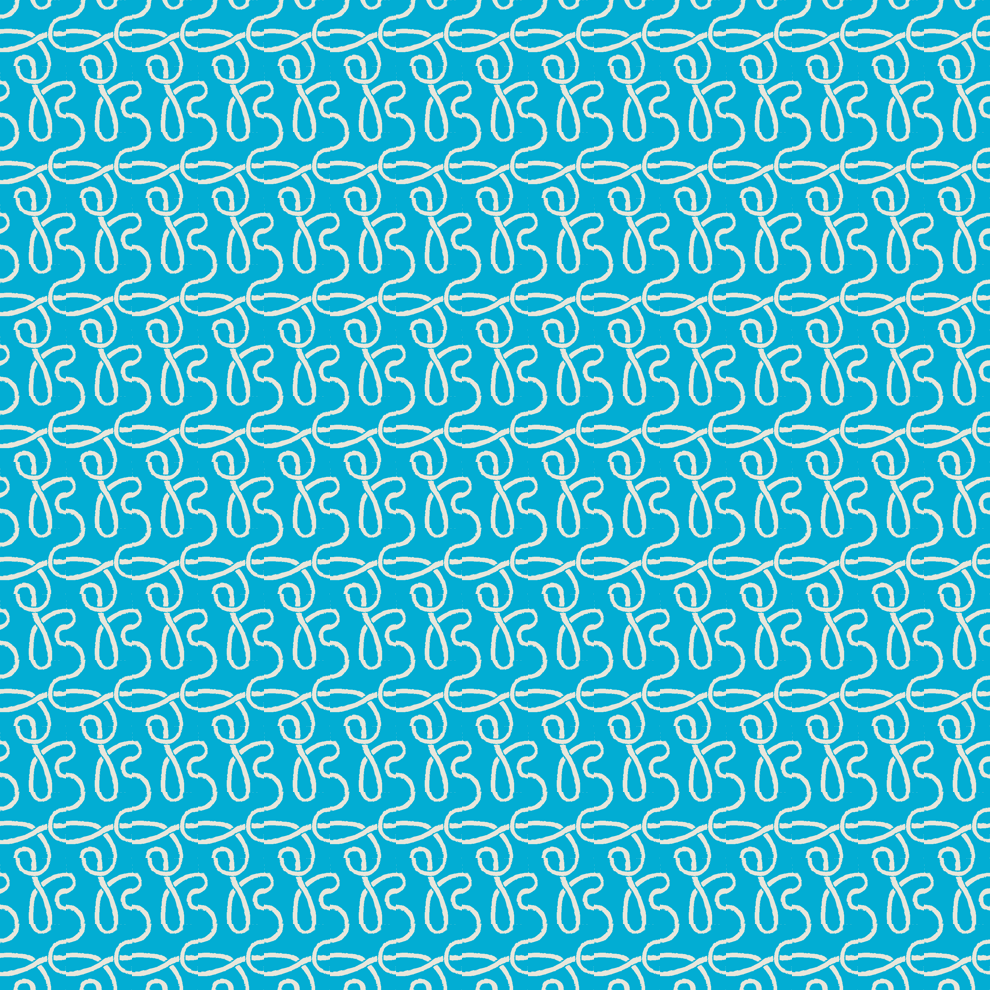
I won’t bother with vertical stripes, because they’re pretty much the same aggregate, just rotated. But, what’s really cool, is a “both stripes” pattern, where I basically do the same thing as above, but use rot=(i+j)%mod:
def bothStripesPopulate(self,mod=2):
  self.label = 'bothstripes_mod'+str(mod)
  for i in range(self.N_board):
    for j in range(self.N_board):
      self.insertTile((i,j),type=1,rot=(i+j)%mod)
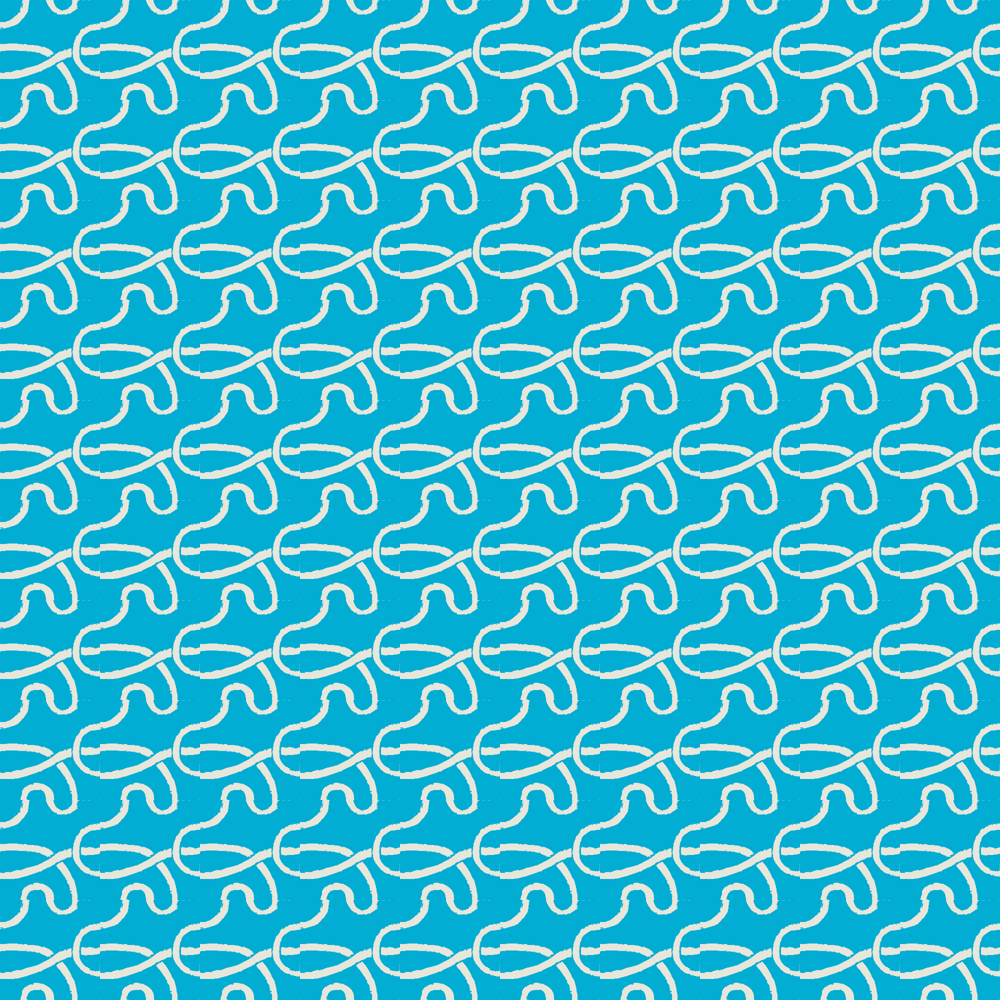
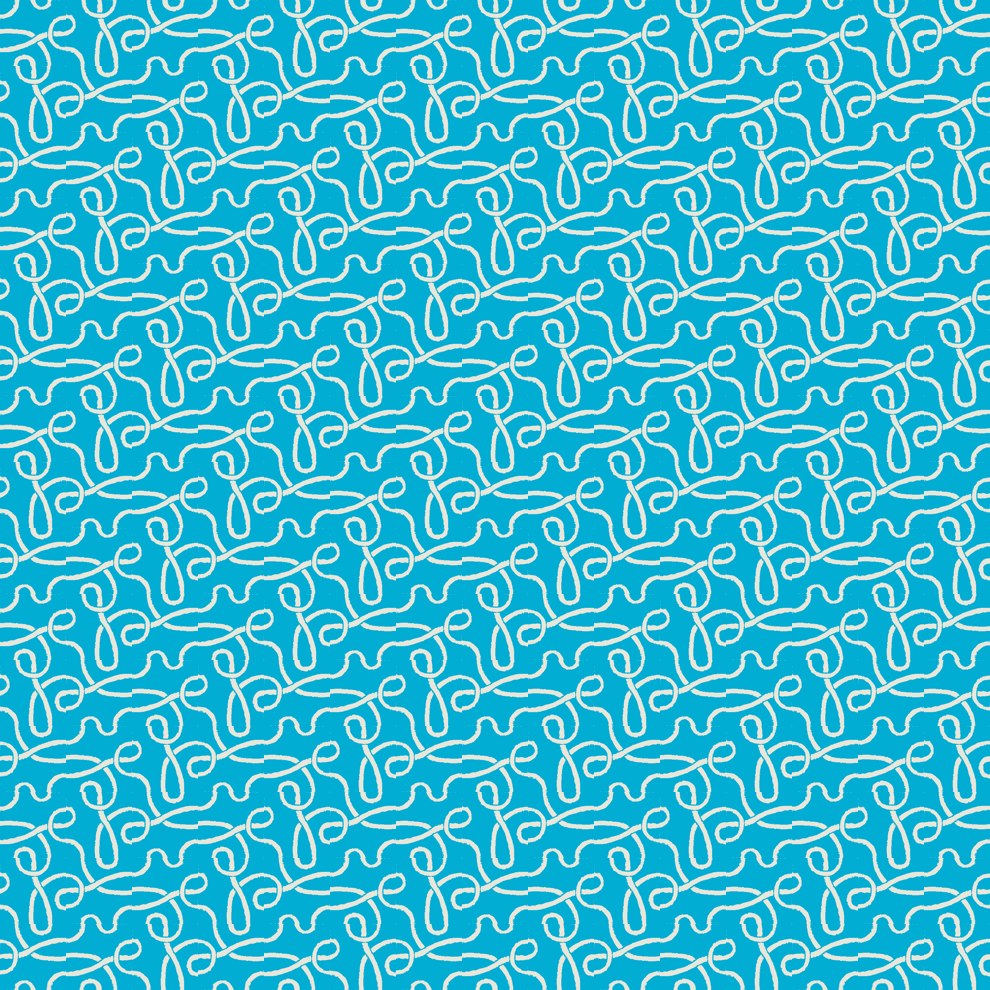
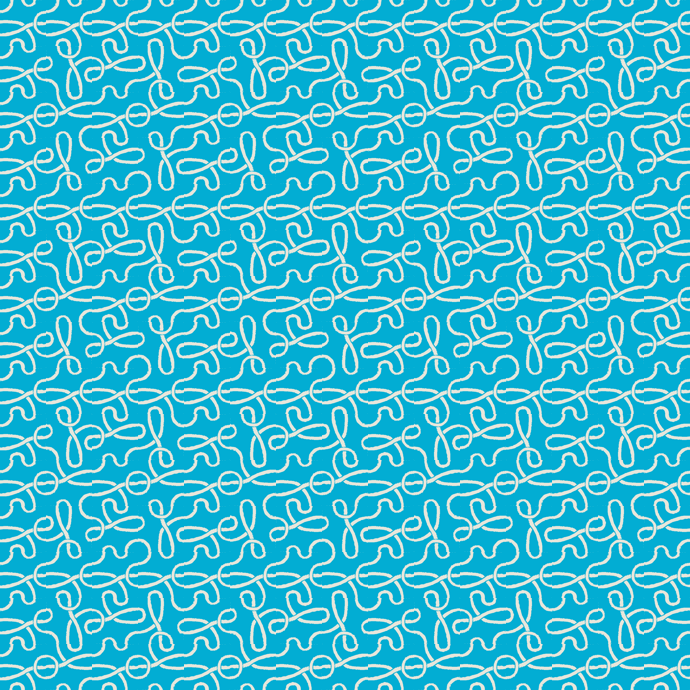
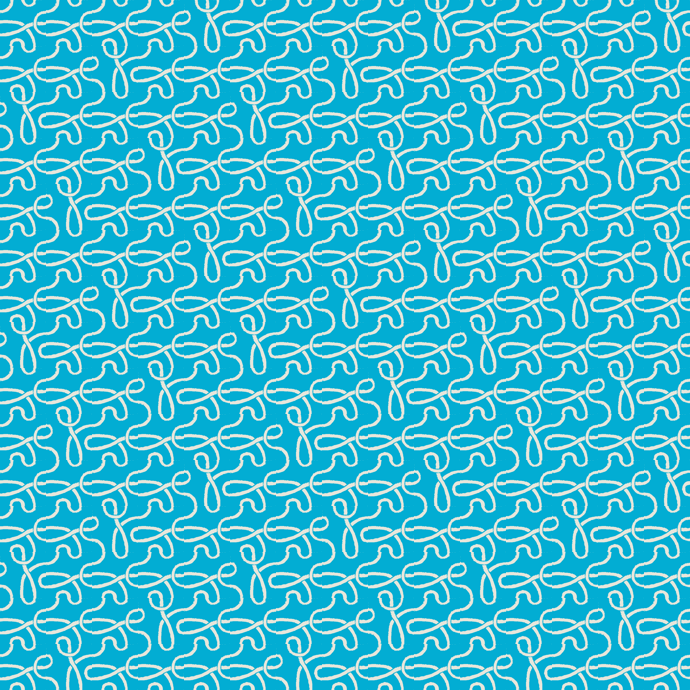
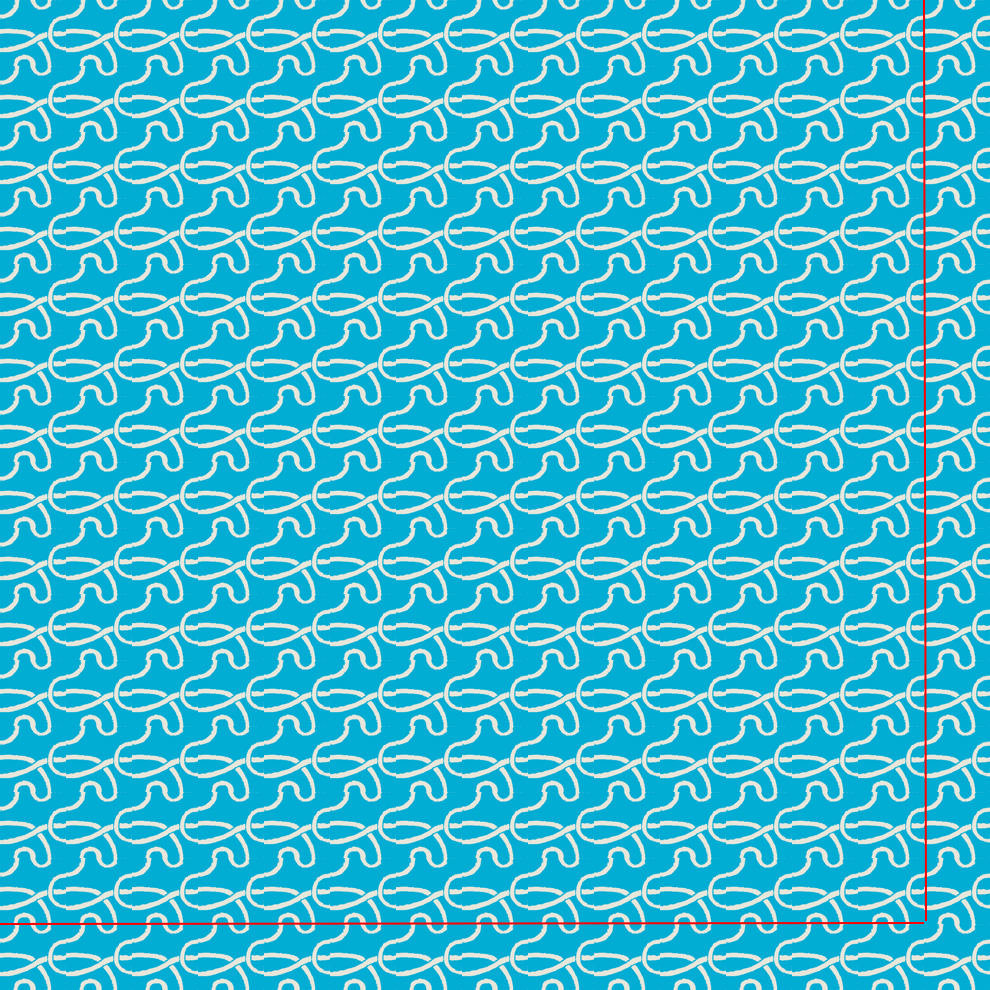
Here’s mod=2:
I looooove that squiggly, repeating closed path. If you notice, it actually has a bit of an MC Escher-y vibe due to the overlapping, if you follow the path, because it’s always overlapping the next one it crosses.
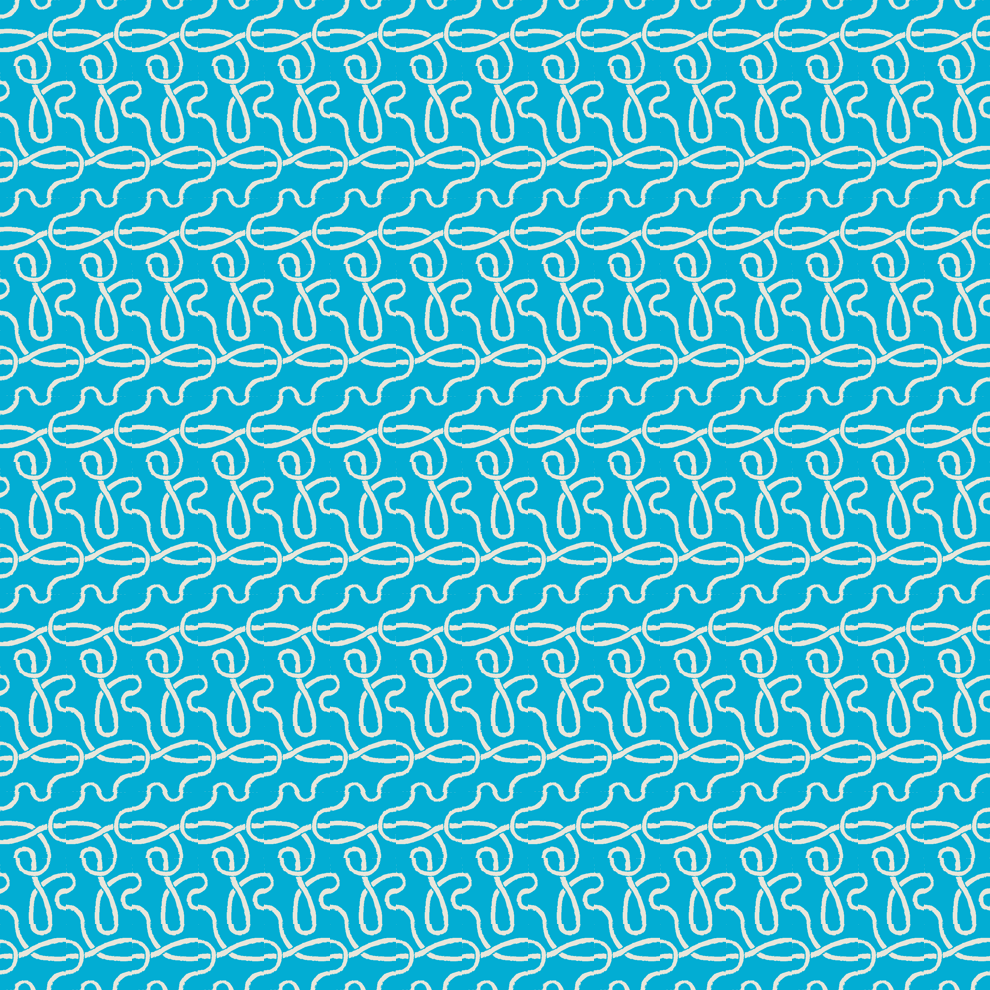
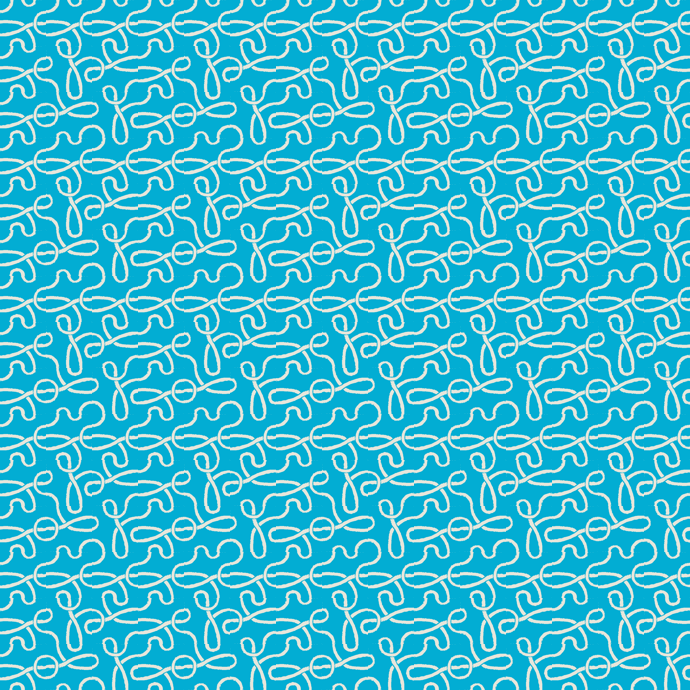
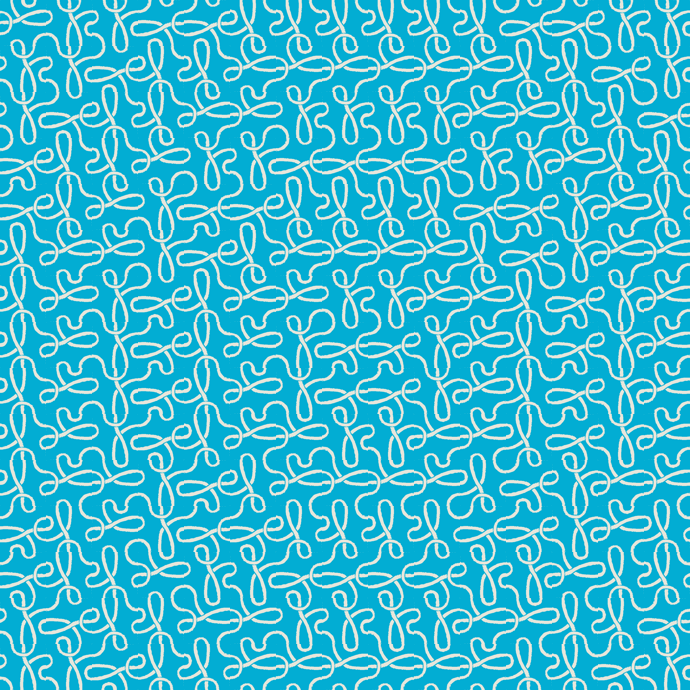
mod=3:
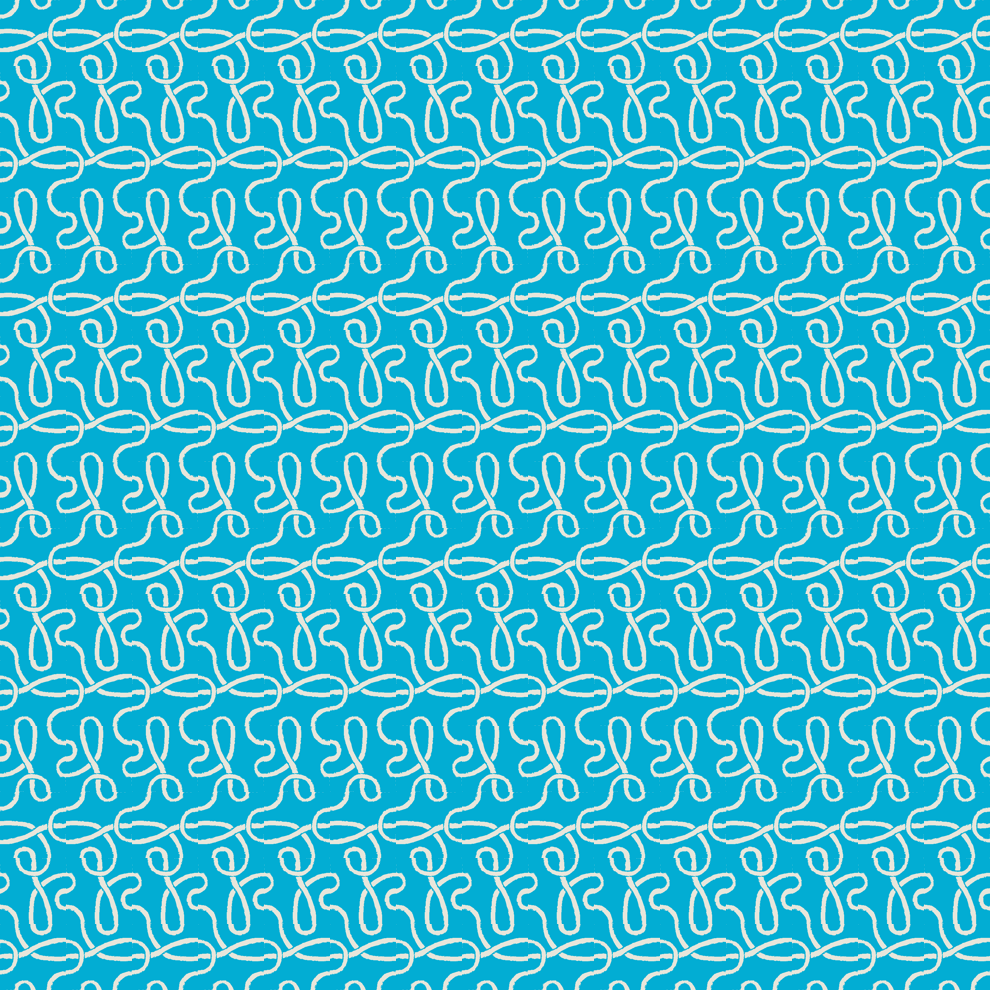
mod=4:
This one is even cooler to me. It has two enclosed paths!
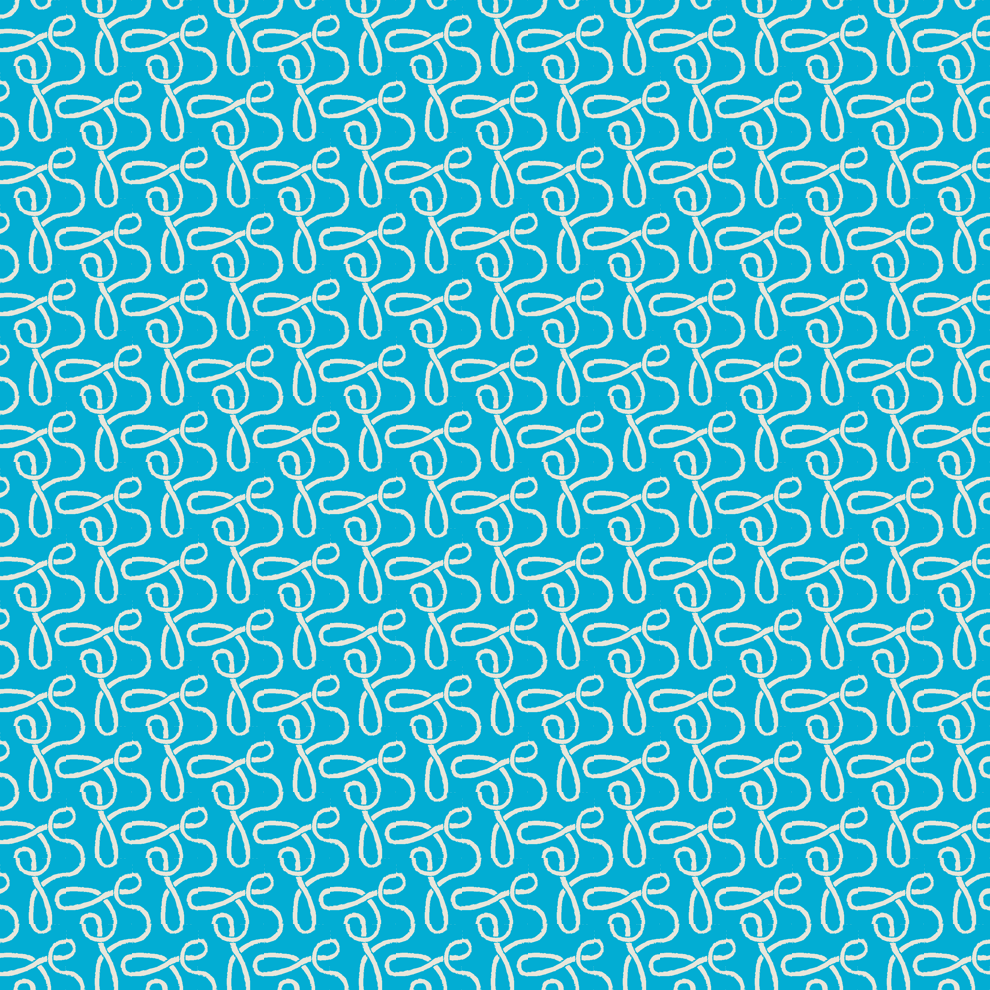
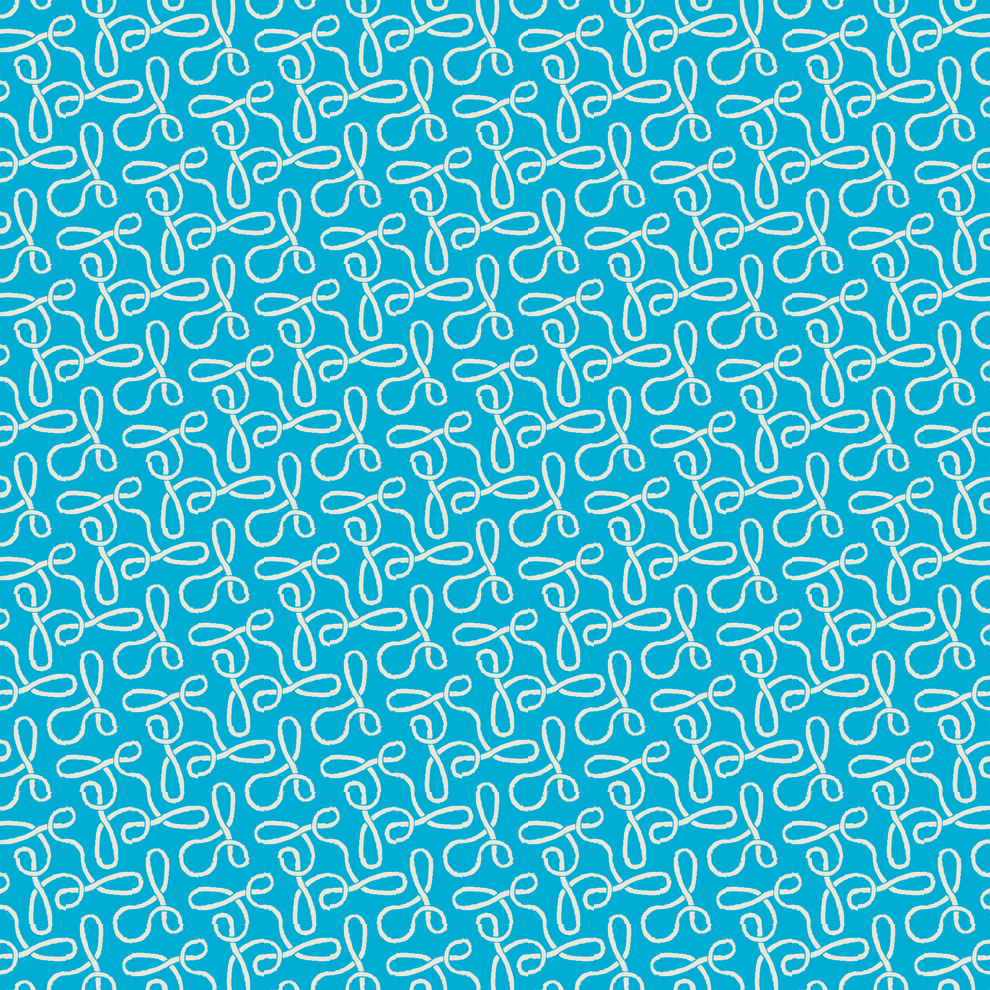
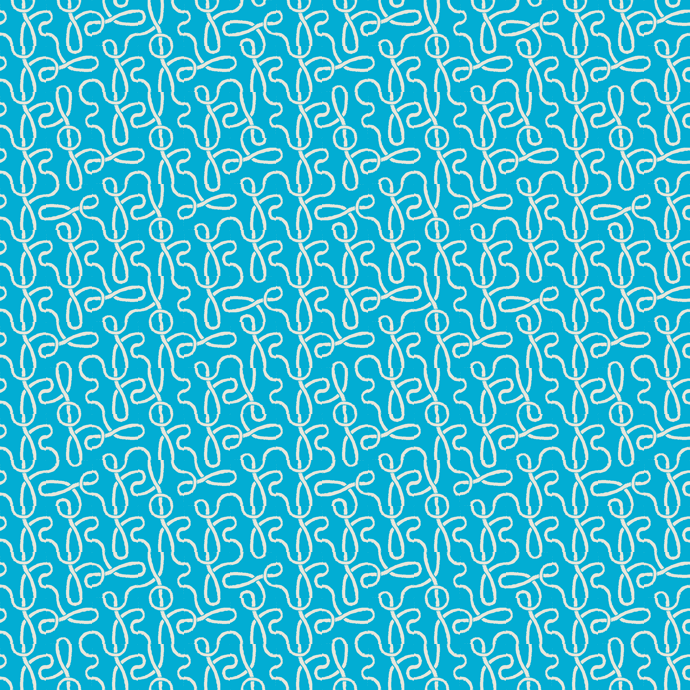
Now let’s try a few other random things. Here’s using rot=(i*j)%mod.
mod=2:
That one actually is just a series of closed paths, although you wouldn’t guess at a glance! Try following one.
mod=3:
That one takes a very long, wandering path before it repeats again, if you follow it.
mod=4:
This one is neat, because it has two different types of paths, for each row, that weave around each other, but never connect.
Here’s a neat one! A radial one, where it rotates it by roughly how far it is from the center, rot=floor(sqrt(((i-self.N_board/2)**2+(j-self.N_board/2)**2)))%mod.
Here it is for size 15:
If you follow the path at the very center of the image, it takes a VERY long path for being a fairly small board.
zooming out to give a bit more of the large scale pattern, 30:
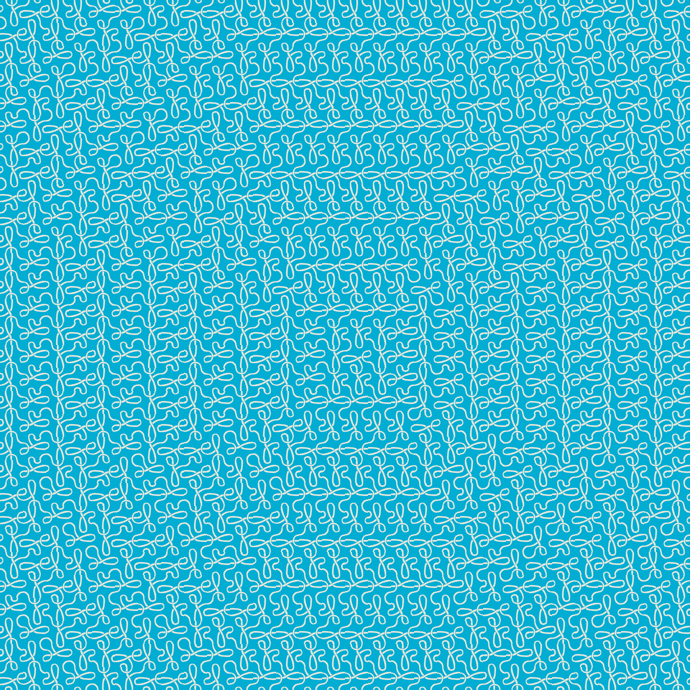
You can see that, since the rotation has to be an integer, it doesn’t have the most precision in its “circle-y-ness”, but you get the picture. There’s definitely some weirdness happening at the corners.
Okay, I promise I’m almost done!
A cool one is using the Fibonacci sequence, rotating each tile of the double for loop above by Fibonacci[i*j + i]%4 (so it’s like you’re just counting across and down the grid, but using that term of the Fibonacci sequence):
You can see (if you use the little circles as a guide) some very interesting, non repeating behavior!
Lastly, to make a more classic tessellation, I did a Pythagorean Tiling, which you’ve almost certainly seen on a bathroom floor somewhere. The idea is that you have a big square that’s one color (for example), that’s twice as big as a small square, that’s another color. Putting the small square in the upper right of the big square allows you to tile the whole plane. For my application, the big square was just 4 tiles of the same rotation, and the smaller one is one tile of another rotation. You can also make the bigger square size (its width) any integer number of the smaller tiles, but I found that 2 looks the best.
Here are a couple variations of that, just rotating the smaller one differently with respect to the bigger one:
To do this, each entry in the for loop (where I insert tiles) is actually entering a “unit” of a big square (which itself is entering four 1×1 tiles), and one 1×1 tile. I did this in a bit of a wonky way (where it plots more tiles than necessary), but it made the coding real easy because a Pythagorean Tiling produces its own “grid” (see the Wiki article) which is easier to code with respect to:
for x in range(-int(self.N_board/2),self.N_board):
  for y in range(-1,self.N_board):

    i = big_sq_size*x + y
    j = big_sq_size*y - x

    #The big square
    for a in range(big_sq_size):
      for b in range(big_sq_size):
        self.insertTile((i+a,j+b),type=1,rot=bigrot)

    #the smaller square
    self.insertTile((i-1,j),type=1,rot=smallrot)
Here, x and y are the coordinates in the “Pythagorean grid”, and you get i and j for each of them.
Okay, so at this point I got a little curious. It seems like some patterns give rise to a ton of different paths, while some cause a minimum of them, and I was wondering if I could quantify what to expect, or at least find some pattern in them. One thing you can say is that the number of paths per tile (in a large board of them) is bounded, in general (like, considering other 1×1 tiles I didn’t make but you could). If you had a small 1×1 tile with 3 ticks on each side, but any arrangement of the lines connecting the ticks within it (such that they’re only connected in pairs), the smallest number of paths would be if you just connected each tick to the other tick straight across it, like this:
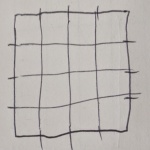
This would be that orientation doesn’t matter, and that as you add more tiles, it’s always just continuing existing paths, decreasing the (# paths/# tiles) ratio. So if you added another row of N tiles here, you’d get 3 more paths but increase the number of tiles by N, meaning it tends towards 6 paths/N tiles, or 0 for large N.
On the other end, you can only make so many paths per tile. It wasn’t immediately clear how to do it with 3 tick/side (actually, is there a way? or are odd number tick sides more bounded?), so I just sketched it with 4 ticks per side, where you can connect each with a pair, ensuring that there’s 4 paths per tile when you repeat it:
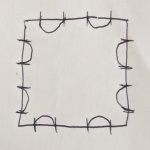
So you’re never getting more than (N_ticks/side) per tile paths, and you can basically get as low as zero paths/tile.
However, I’m still not sure how to predict, given just the tile and how we’ll orient it, how to predict how many paths it could produce.
As a starting point, I plotted the # paths/# tiles for a given layout pattern, for a bunch of sizes of boards. Here’s the one for the simplest, the uniform one:
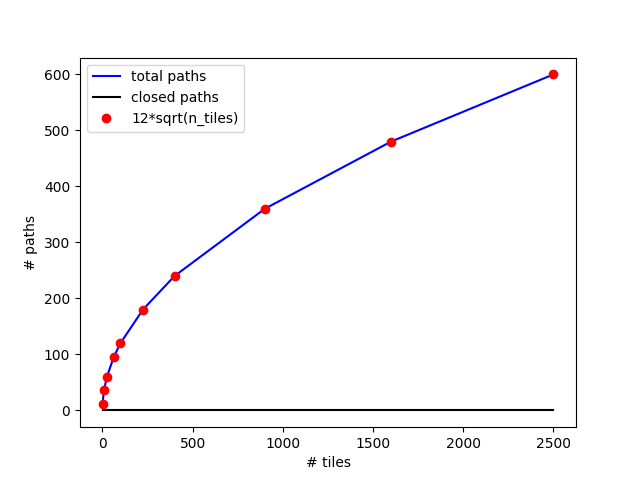
It goes as the sqrt, which I thought was strange. But, if you look at this one, you can see that it actually makes sense. When you add the next “layer” of tiles, it continues all the paths there were already, but also adds one extra path for each tile:
Something interesting happens if you do it so each tile is placed with random orientation:
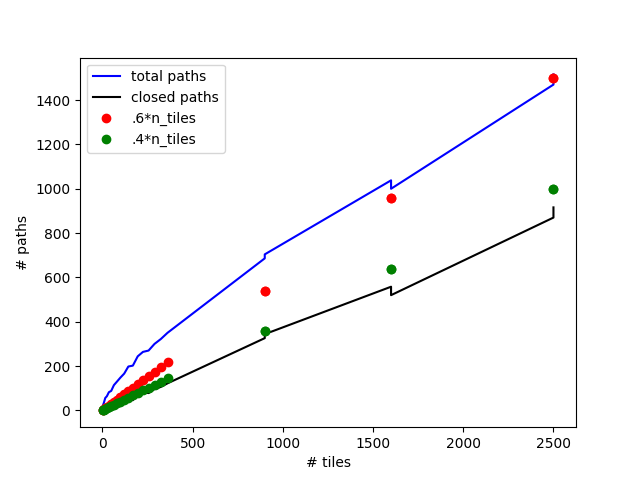
I tried to plot lines that seemed like they were similar to what it tends towards, but I dunno (the jumpy parts are where I added a couple samples at that same # tiles to see how much variation in the randomness there is). It seems pretty clear that the ones for low # tiles (which there are a bunch of samples for) do tend towards sqrt(# tiles), but then it evens out towards linear. I also plot the number of closed paths, and I think it’s interesting that it looks like it tracks it as a proportion of the total number fairly well.
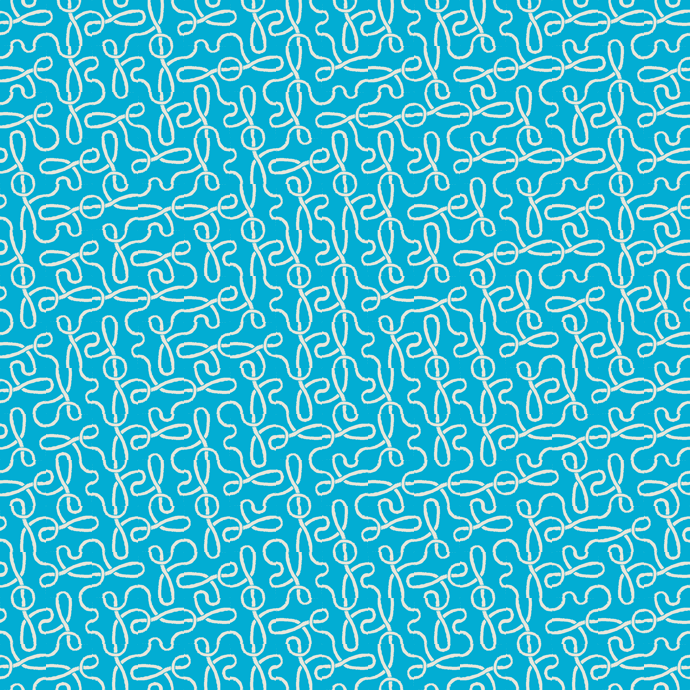
For curiosity, here’s a random one:
I won’t try it today, but I think one approach that could work for this (the random one) is using some statistical mechanics-y technique. Maybe something where, for a given ensemble of already placed tiles, I try to figure out the chance of another tile placed on the edge cutting off existing paths vs adding a new one. This is one of those things where I bet if I spent a bit of time looking into it, it’s an insanely well known field that many people have written books on. (I mean, I know tessellations are for sure, but this has the paths element to it too. Does anyone know what this might be called?)
I’ll probably look at this stuff in another post, since it’s intriguing me. Well, that’s about all for now. I have a bunch of ideas I’ll try next time. Some more functions of x and y, sequences, etc. I also want to build more “units” (like the Pythagorean tiling), where I can engineer them to have extremely long paths that are nevertheless closed. Speaking of, I want to also characterize the average path length for different configurations (in # tiles it crosses, not counting the actual distance on a tile). I think with engineering bigger unit groups of 1×1 tiles could give some really interesting behavior. I also want to figure out what “rules” would be specific to the 1×1 tile I did, vs any tiles. Lastly, I didn’t even use my 2×2! It turned out that it was complicated enough with just the 1×1.
The (messy) code for all this is here.