
I’m not sure when I got the urge to make a CNC… or maybe it was always there. I did a summer job in a machine shop when I was 19, where I was given a minimum of training by the 88 year old machinist: “keep the pink things [wiggling his fingers] away from the sharp things [pointing to the milling machine’s cutting edge], boy.”
(I’m not joking. He did show me more things later, but only because I asked. He would mostly just motion for me to come over so he could tell me filthy jokes from the silent film era and cackle to himself.)
Anyway, enough rambling. My friends Phil and Ben joined me for this project, and we were on our way. There are a million plans for DIY CNC machines on the internet, but one I found googling was the Mostly Printed CNC (MPCNC). I didn’t check out too many options, but this one had a lot of appealing facets: very beginner oriented, can be built pretty cheaply if you have a 3D printer (we have 4 between us), and can be easily scaled to different sizes.

It’s a clever idea and design. He uses electrical conduit for the rails (see below), and then designs 3D printed objects around them. He gives the designs/STL files away for free, but offers to sell you the printed parts. And honestly, I’m not sure it’s a bad deal: it ends up being something like 2 kg of printed material, so that’s ~40 bucks of material alone. Then, there’s about 110 HOURS of printing… so do the math, both in terms of having energy-gobbling 3D printers running that long and the time you personally have to spend. Anyway, here are a bunch of the 3D printed parts:
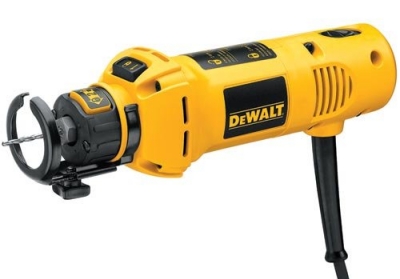
It can be used with different cutting/other tools because he designed a general mount system (more on that below), but the most common choice is the Dewalt 660. It’s not quite a router, I think more a tool for plunging into drywall and cutting out sections, but it’s pretty hefty:
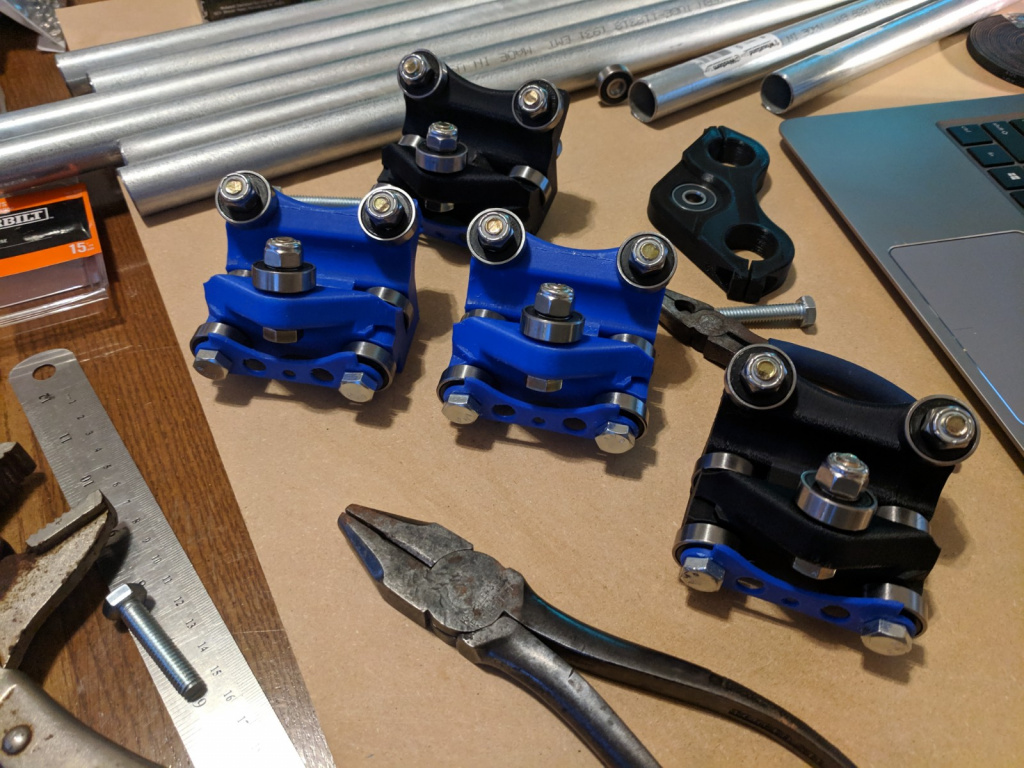
The instructions are… definitely intended to be helpful, but a lot of the time they could be clearer. Fortunately, it’s mostly clear from just looking at the parts, where they’re supposed to go:

Some stuff was a little tighter than expected, but nothing a little sanding couldn’t fix, like the legs and parts that the conduit went in:
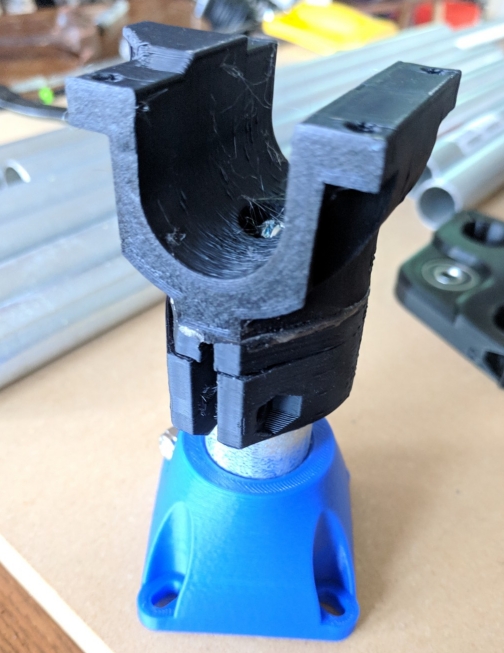
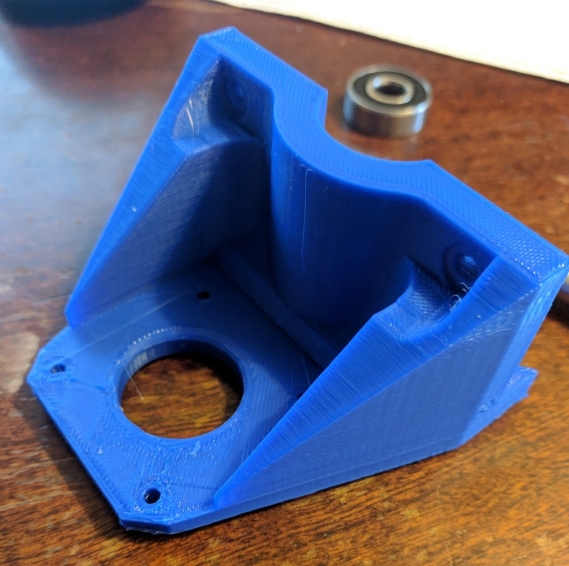
The main assembly that holds the Dewalt is…bizarre looking, to be honest. Its geometry reminds me of an alien design in a movie, but it does fit together well.
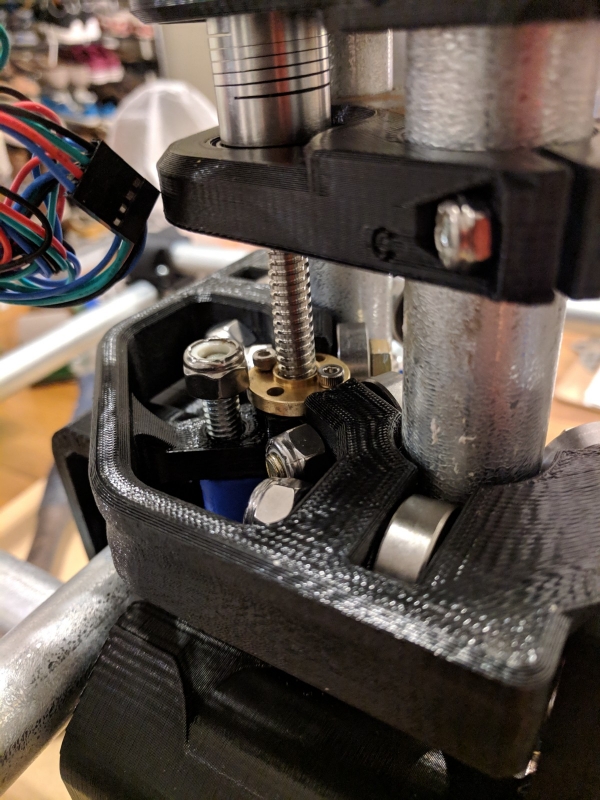
That part uses a threaded rod to carefully adjust the z height of the cutting tool:
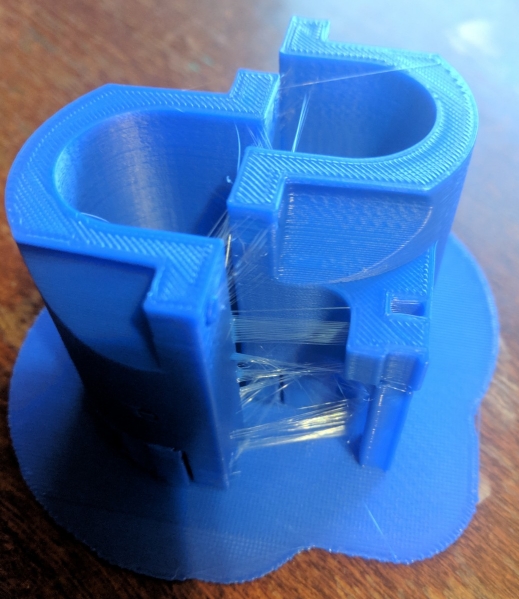
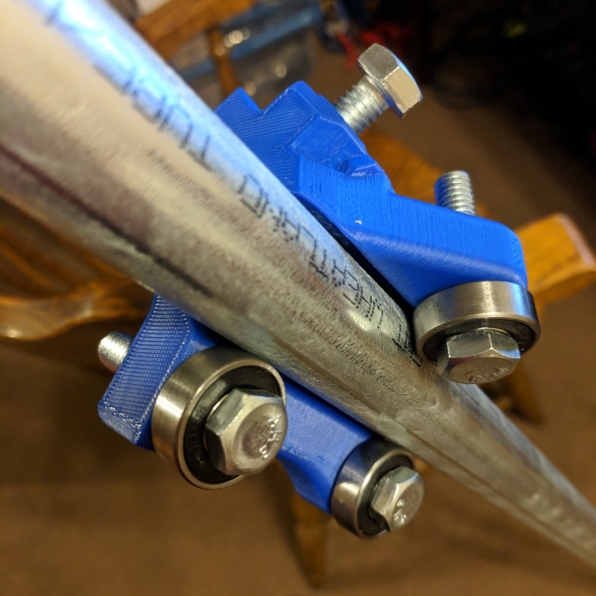
And here’s where the tool mounts:
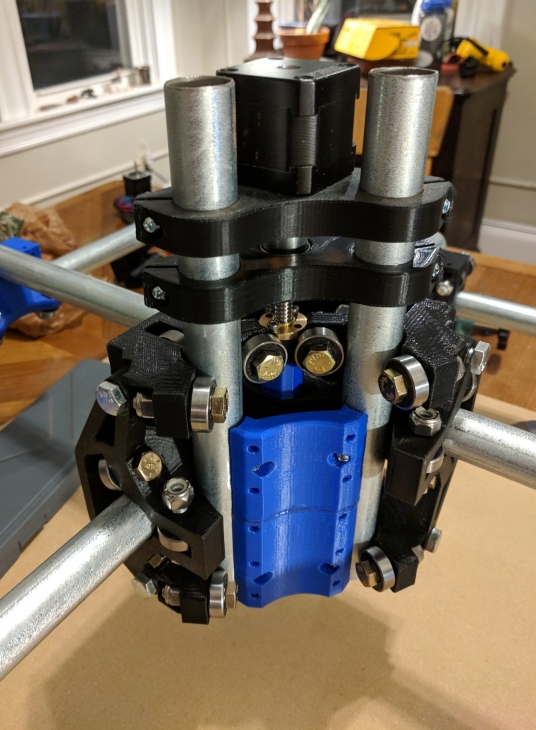
The blue piece is actually a kind of “general” mount system. He cleverly designed it so that the blue piece has a few screw holes, and then you can design your own custom mount to attach to that and whatever tool you want to attach to the gantry. So the Dewalt is the most common, and we just downloaded its mount from here, but it lets you attach anything that can physically fit. If you look at the MPCNC website, it’s common to attach pens/markers, an extruder (to make it a really large 3D printer), or a laser.
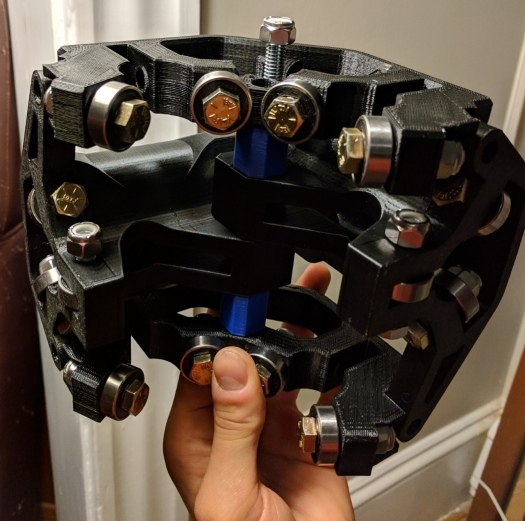
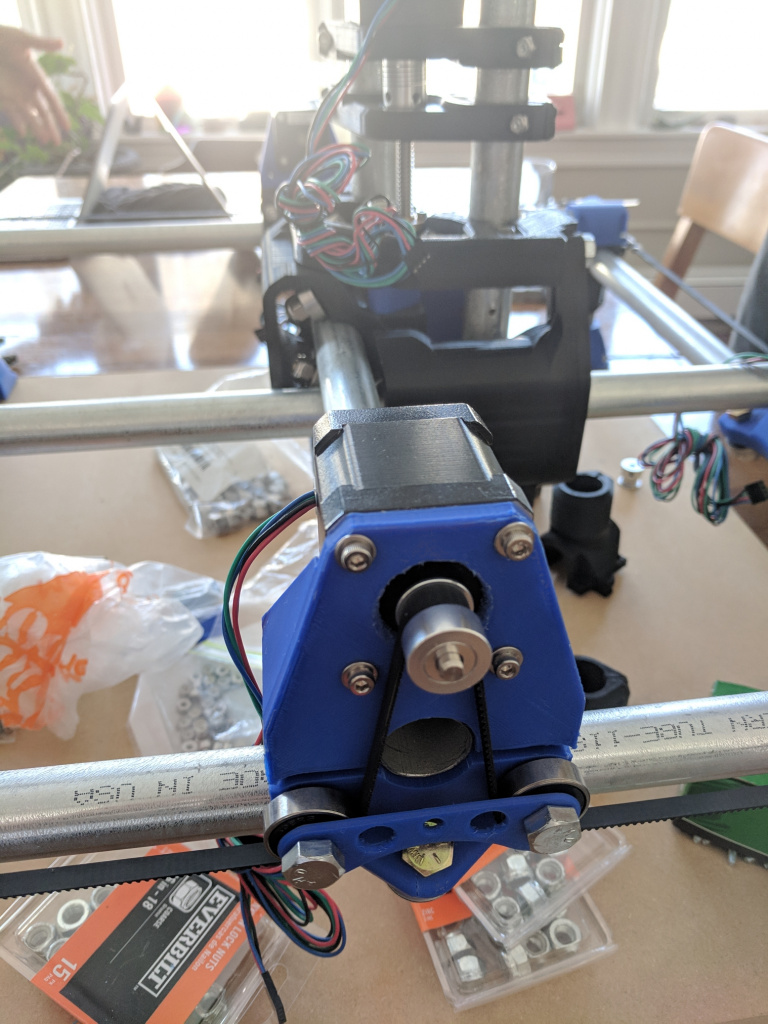
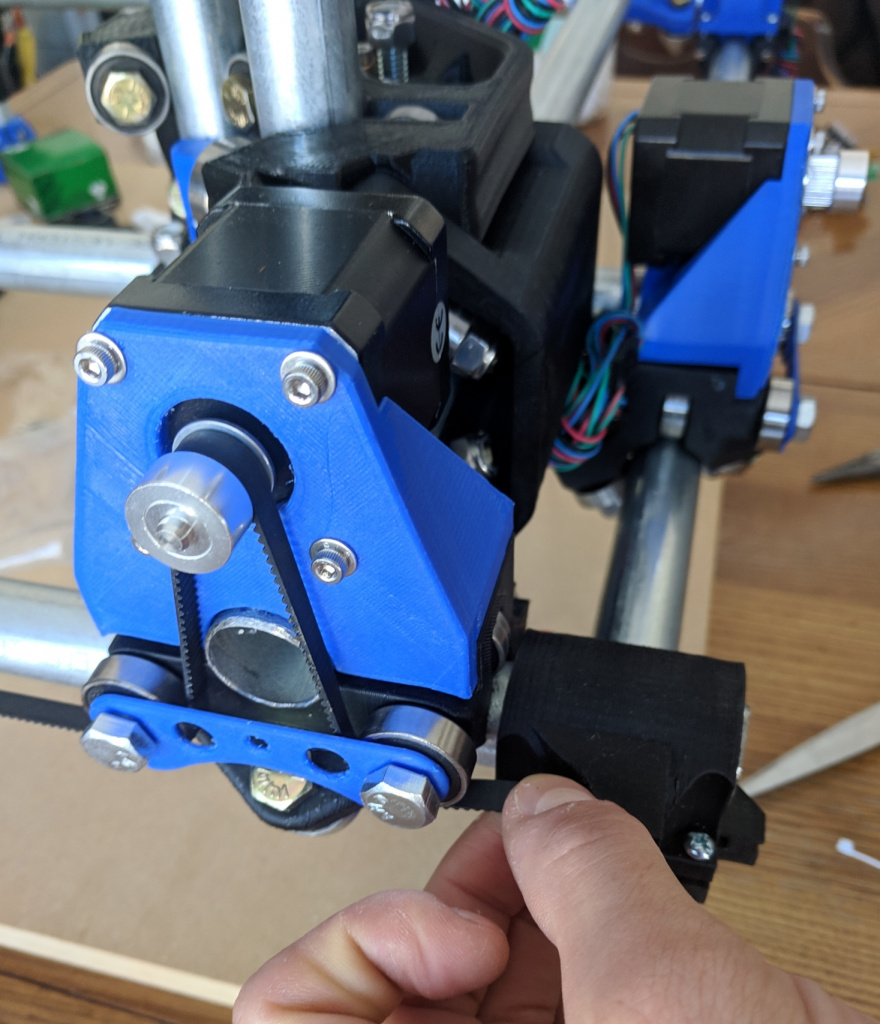
Here are a few more of it put together:
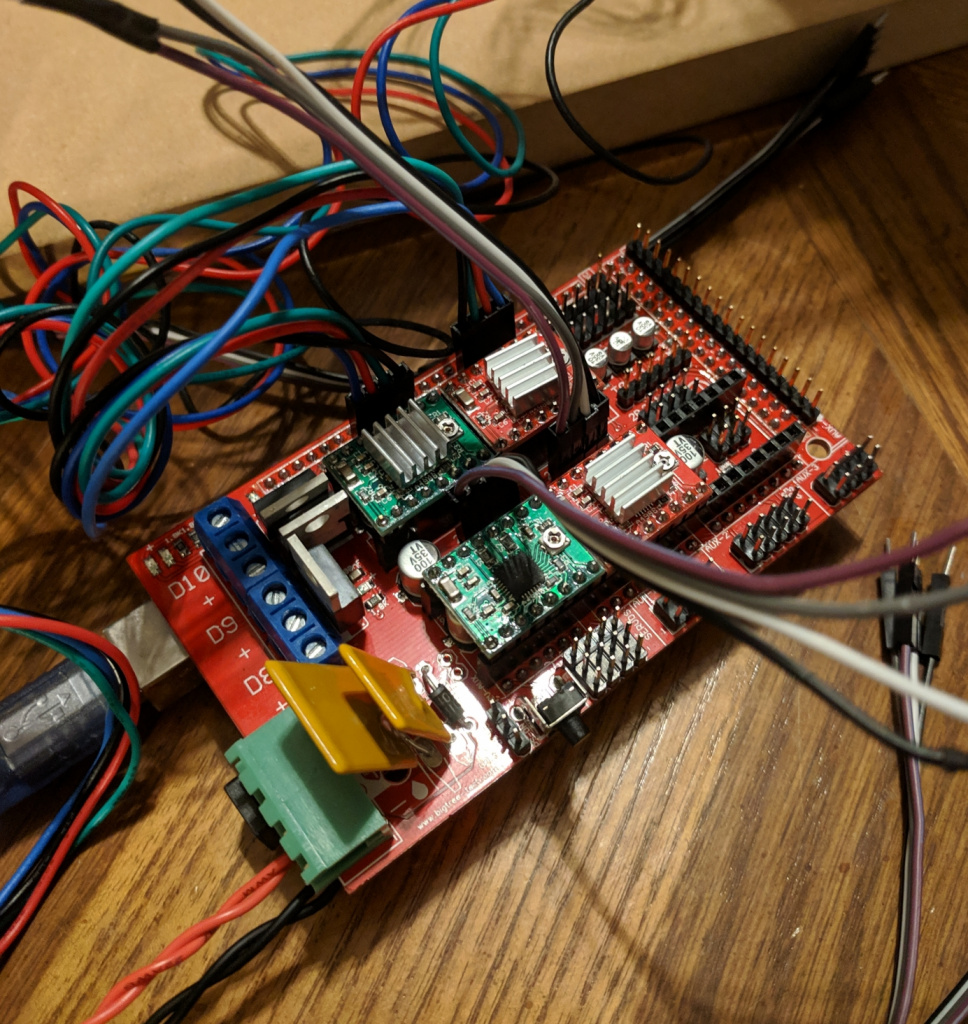
We used a spare RAMPS board Phil had to control it. We had to change the settings a little because the CNC has two X’s, two Y’s, and one Z:
We hooked it up and first used Repetier to control it and make it move around. I expected we’d have to do a bunch of adjustments, but to be honest we just slowed down the speed a little and off it went!
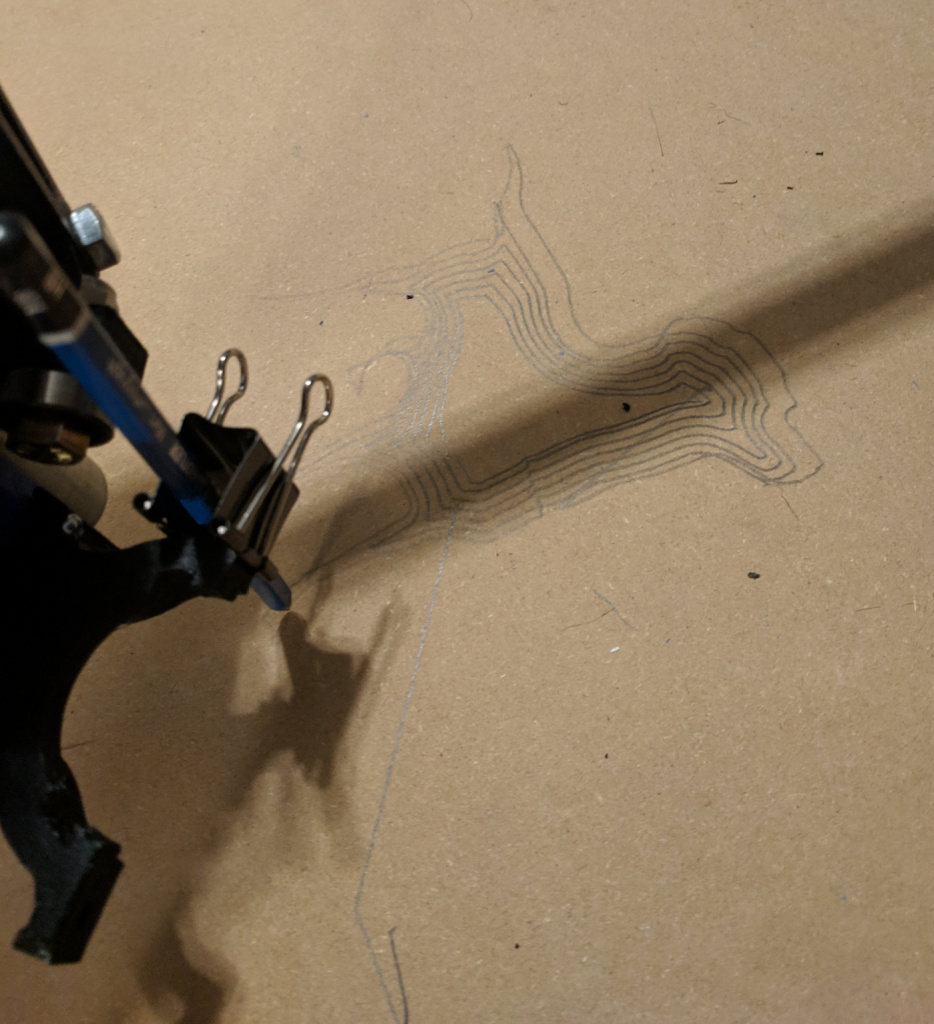
We first strapped a pencil to it, just to make sure it doing the right contours:
In case you do this, Repetier is actually in the Ubuntu repos (as “repetier-host”), but it wasn’t working totally, because it’s a much older version. Instead, I went on the Repetier website, where they have Linux versions for free that are the newest.
The next thing was to try and cut a pattern! This is part we still have to figure out better, so here’s our current workaround. We used jscut to turn an SVG file into gcode. I’m not going to look a free gift horse in the mouth, but the tool’s use could be more clear. We loaded the gcode, and…!
Ahhhhhhhhhh I swear I got a shiver the first time I saw it cutting something on its own.
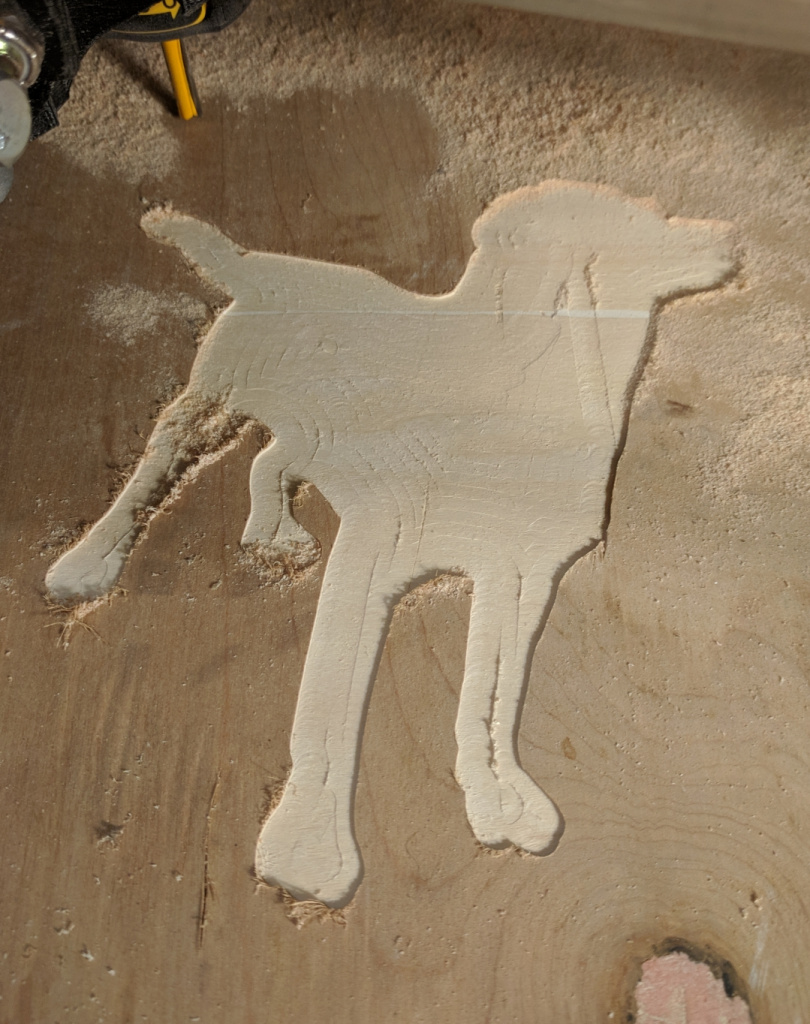
Not bad for a first try and no calibration!
We’re actually still unsure how to correctly zero the tool. We think we temporarily solved it by creating a script from some code we found on a CNC forum, that executes the gcode:
G92 X0 Y0 Z0
@isathome
It…seemed to work?
One annoying aspect of jscut is that it seems to place the object way off center:

Anyway, one more cut:
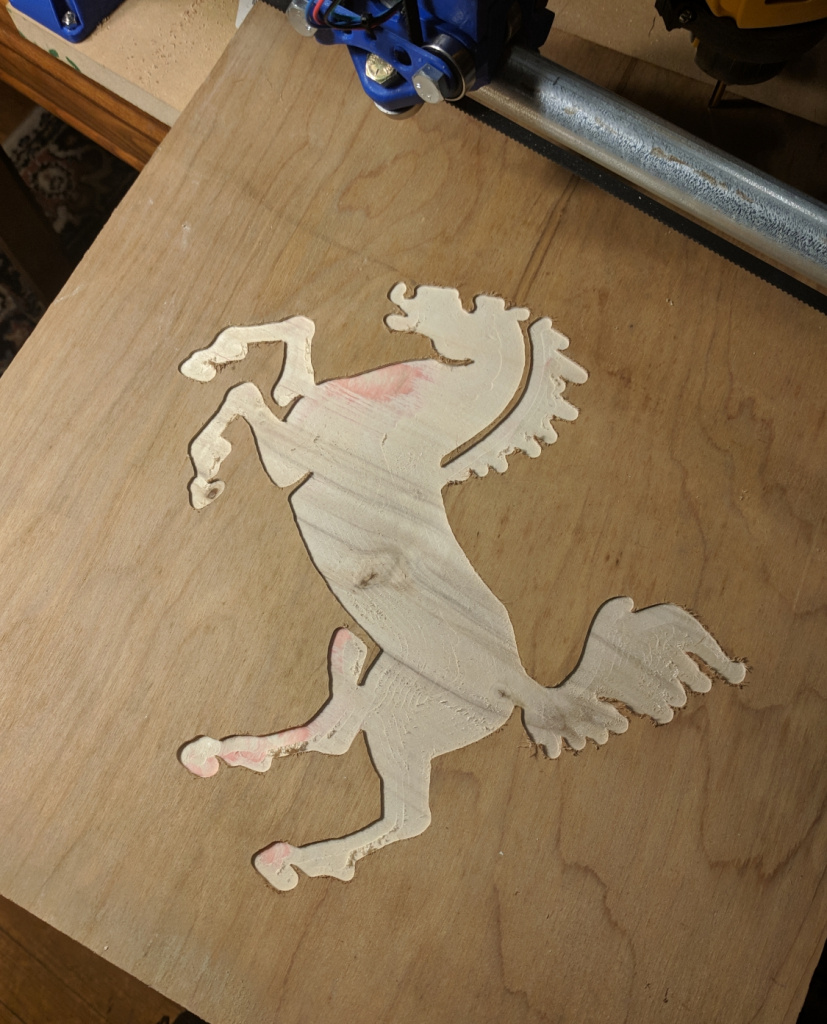
I love watching it leave little “islands” behind in the cut out space, and then go back at the end to polish them off.
That’s all for now! We have a bunch of stuff planned, though:
- Trying smaller bits, for finer cuts
- Trying other mounted tools (pens, extruder, laser cutter/engraver??)
- Adding end stops and a place to touch off the tools in the Z direction
- Most importantly: getting a better work flow from STL/SVG files to gcode (any suggestions?)